In this article
Learn how to create posts to engage your audience, share updates, and communicate with your members.
Introduction
Once you start building your audience on Orbi, posts are a great way to stay connected and keep your community engaged. You can share updates, announcements, and important information directly with your students.
Follow the steps below to create your first post.
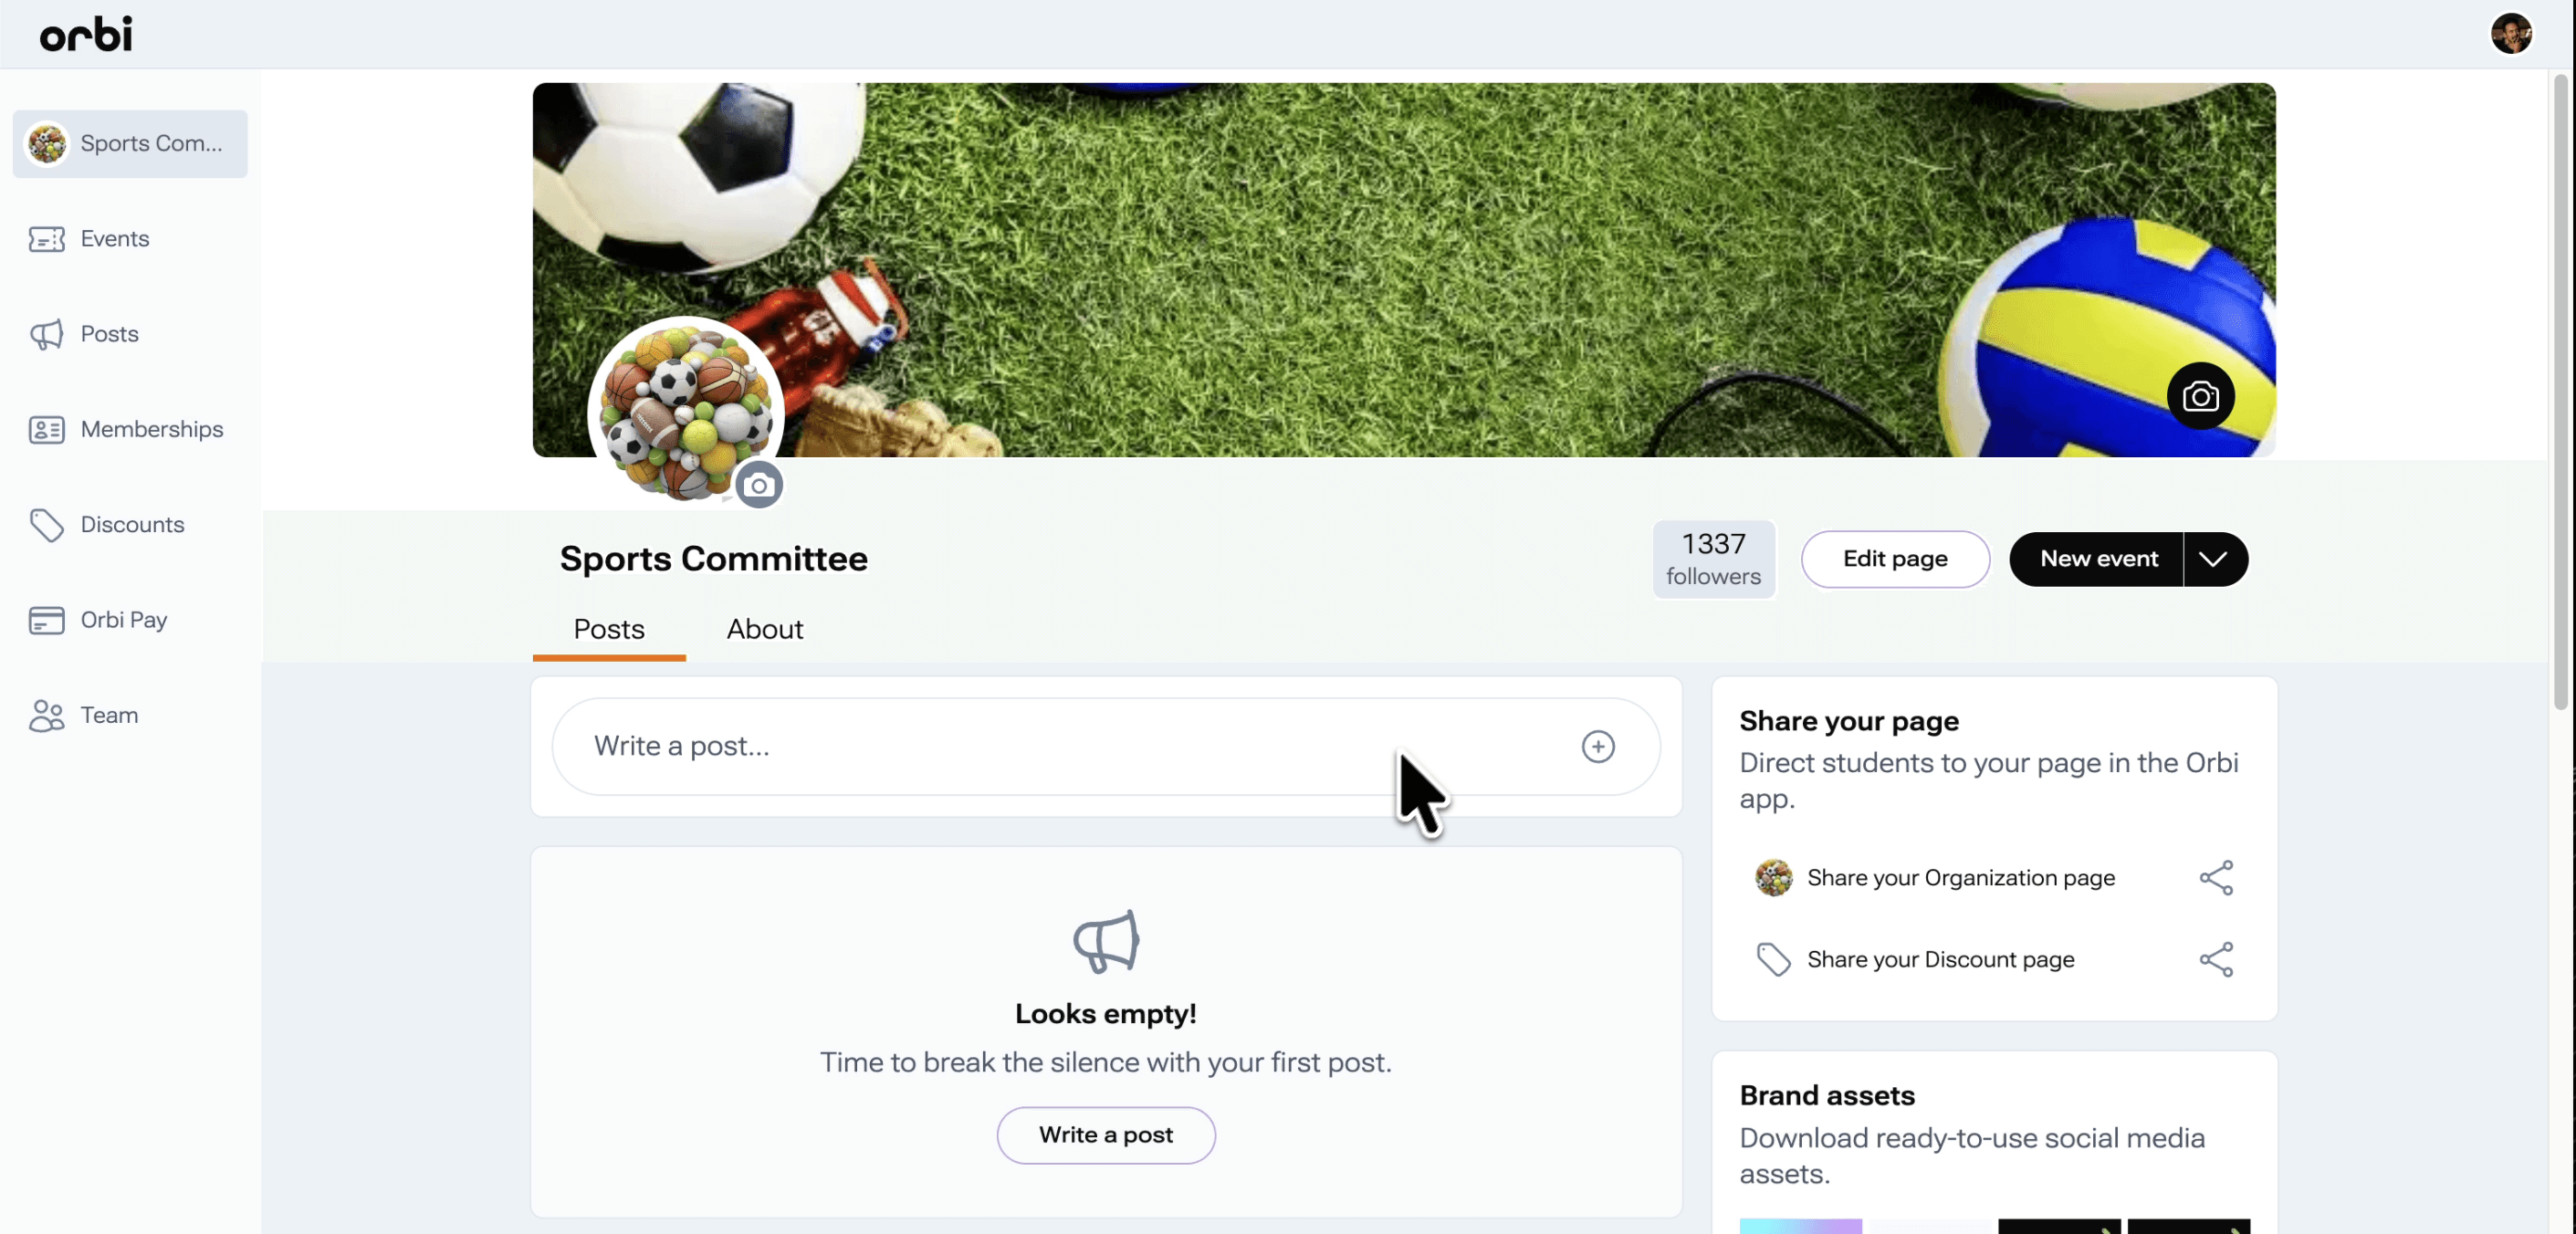
Step 1: Go to your organization page
Navigate to your student organization page in Orbi.
Step 2: Click
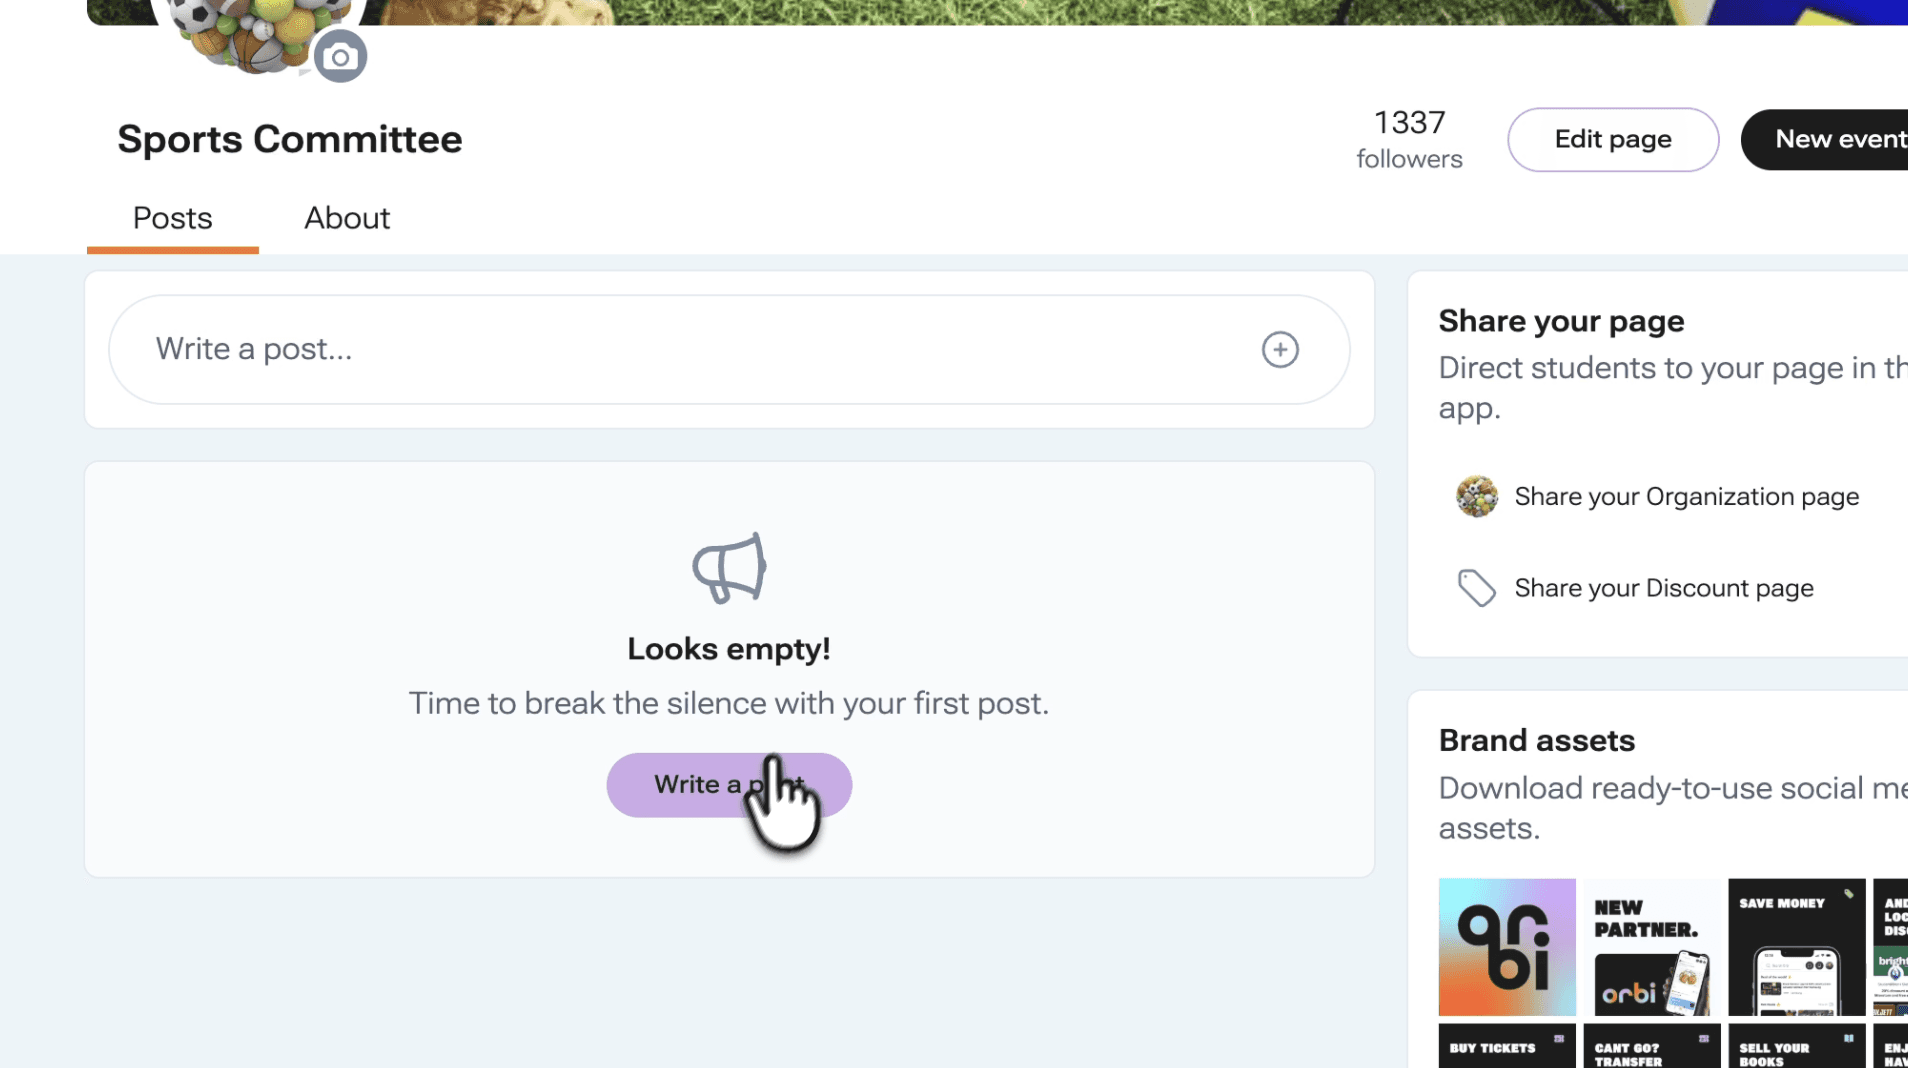
Create Post
Click the option to create a new post.
Step 3: Write your message
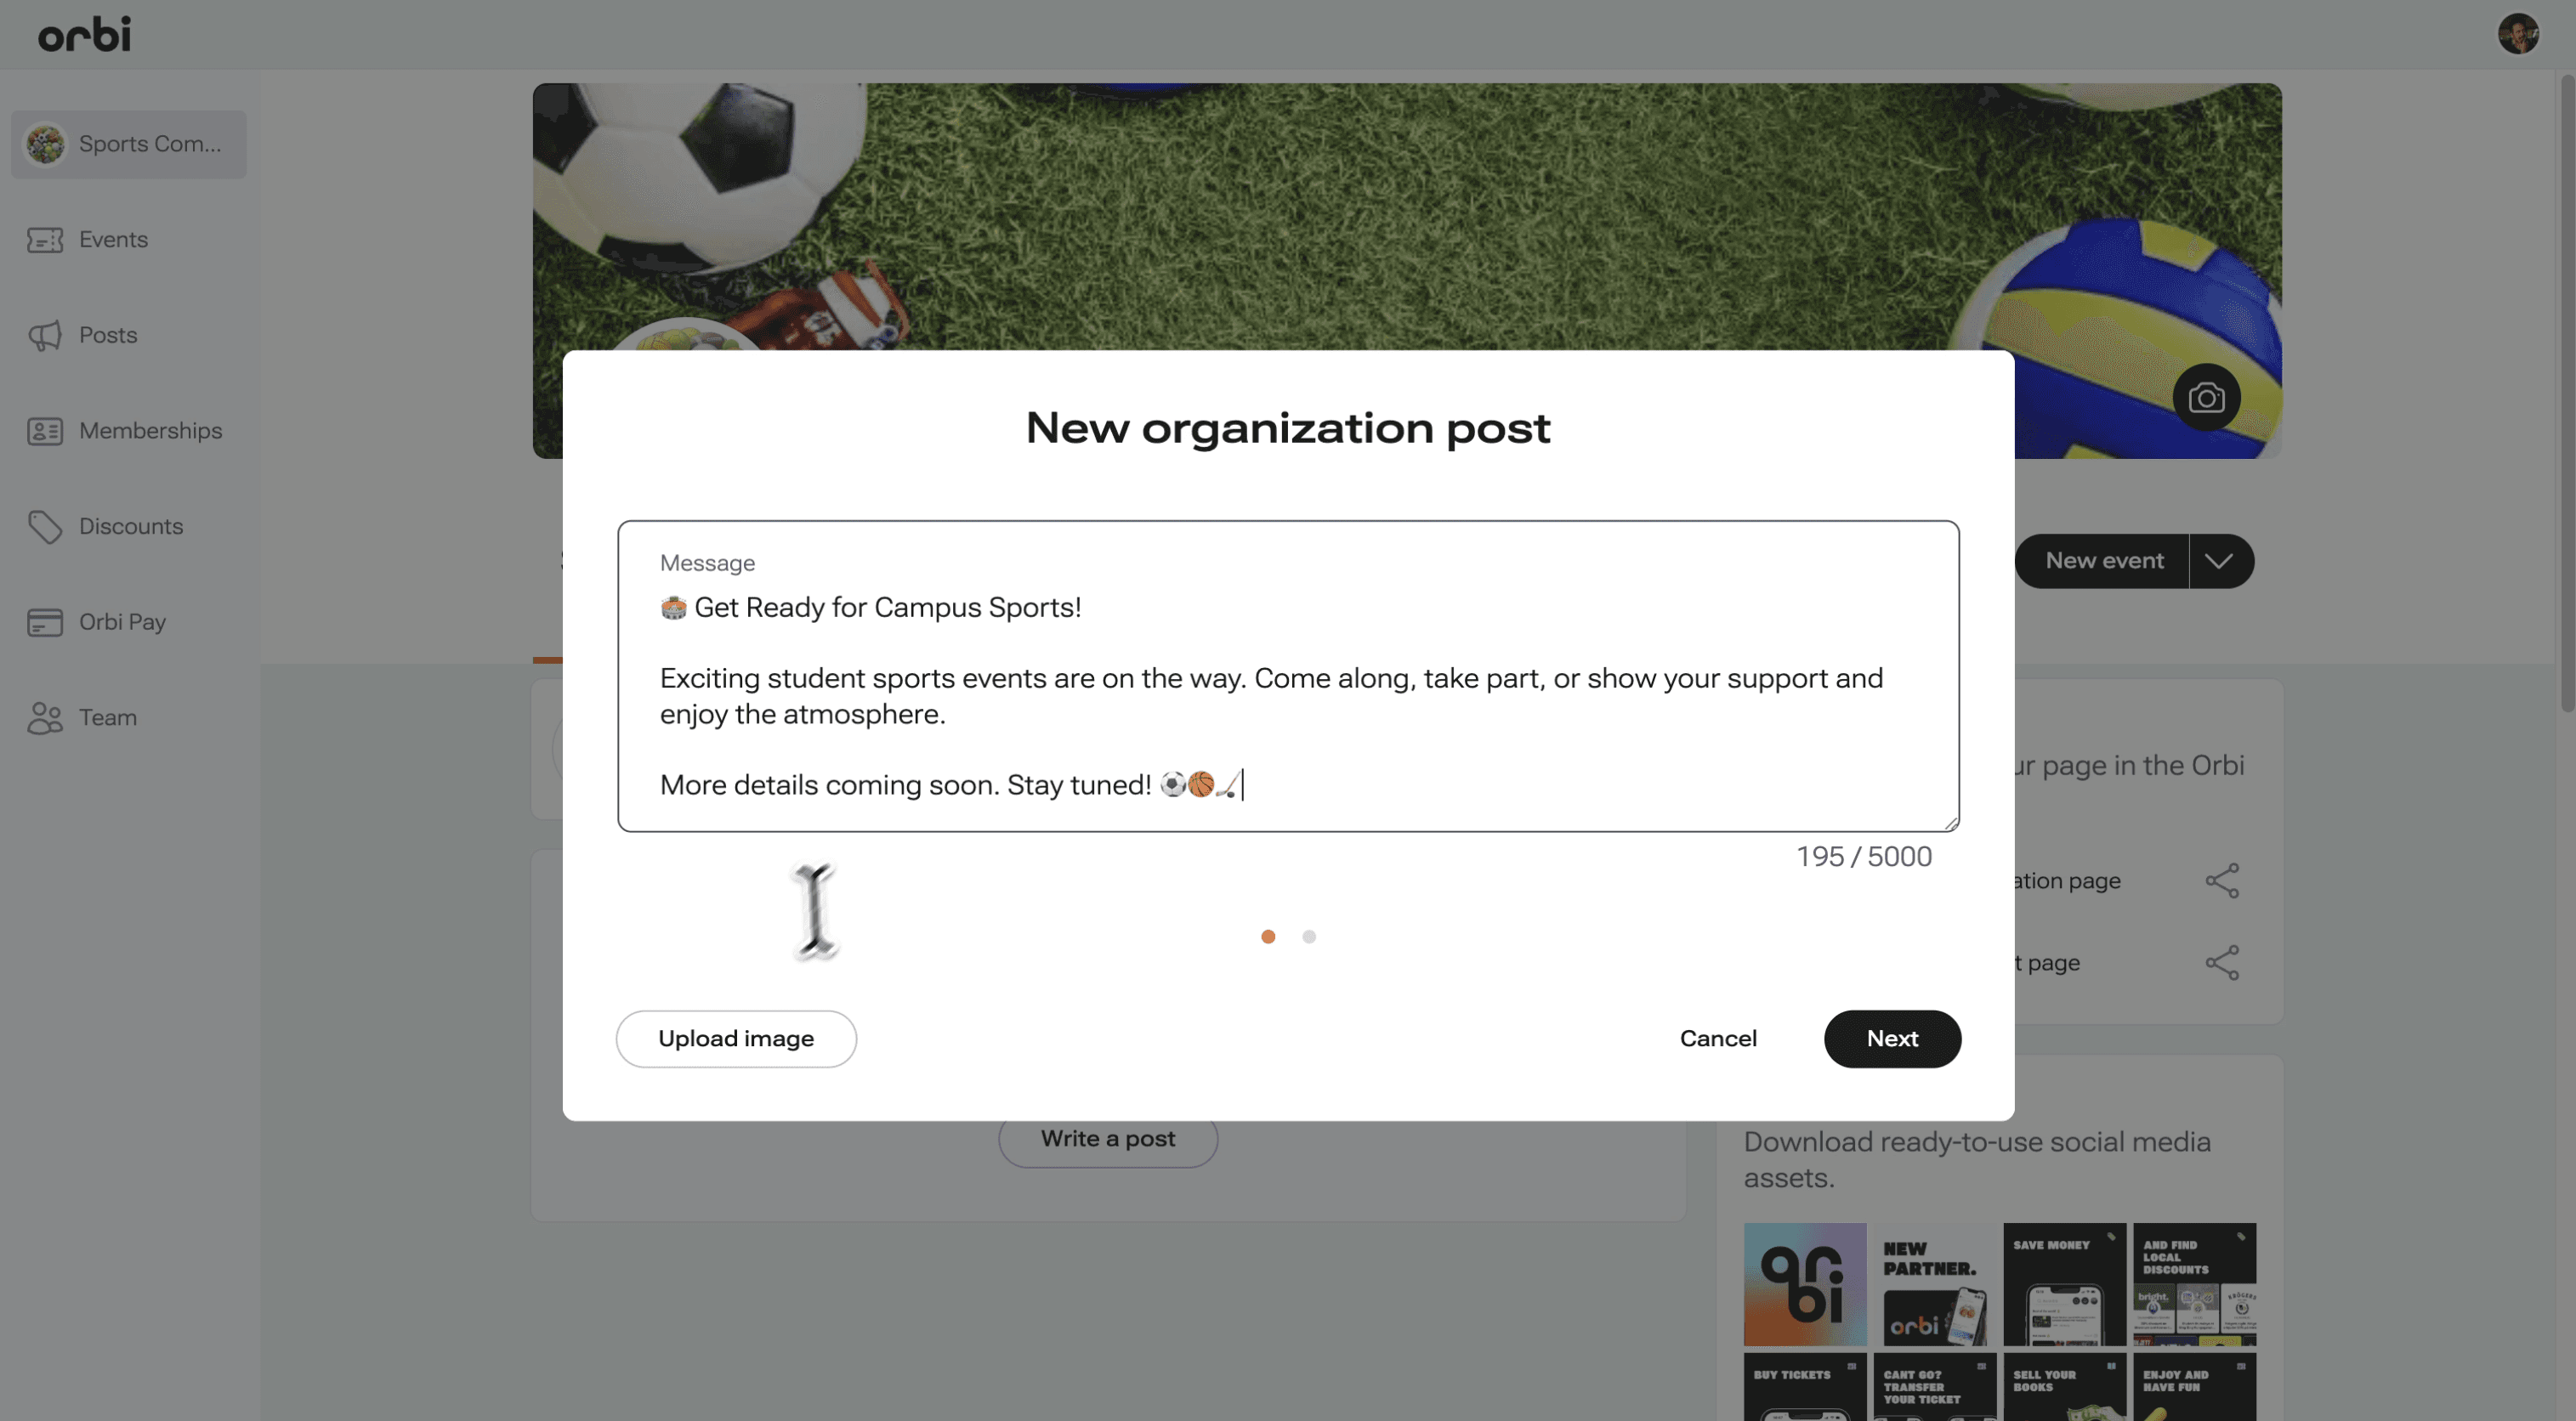
Add your message to communicate with your audience.
You can:
Share updates or announcements
Add a photo to make your post more engaging
Step 4: Choose when to publish
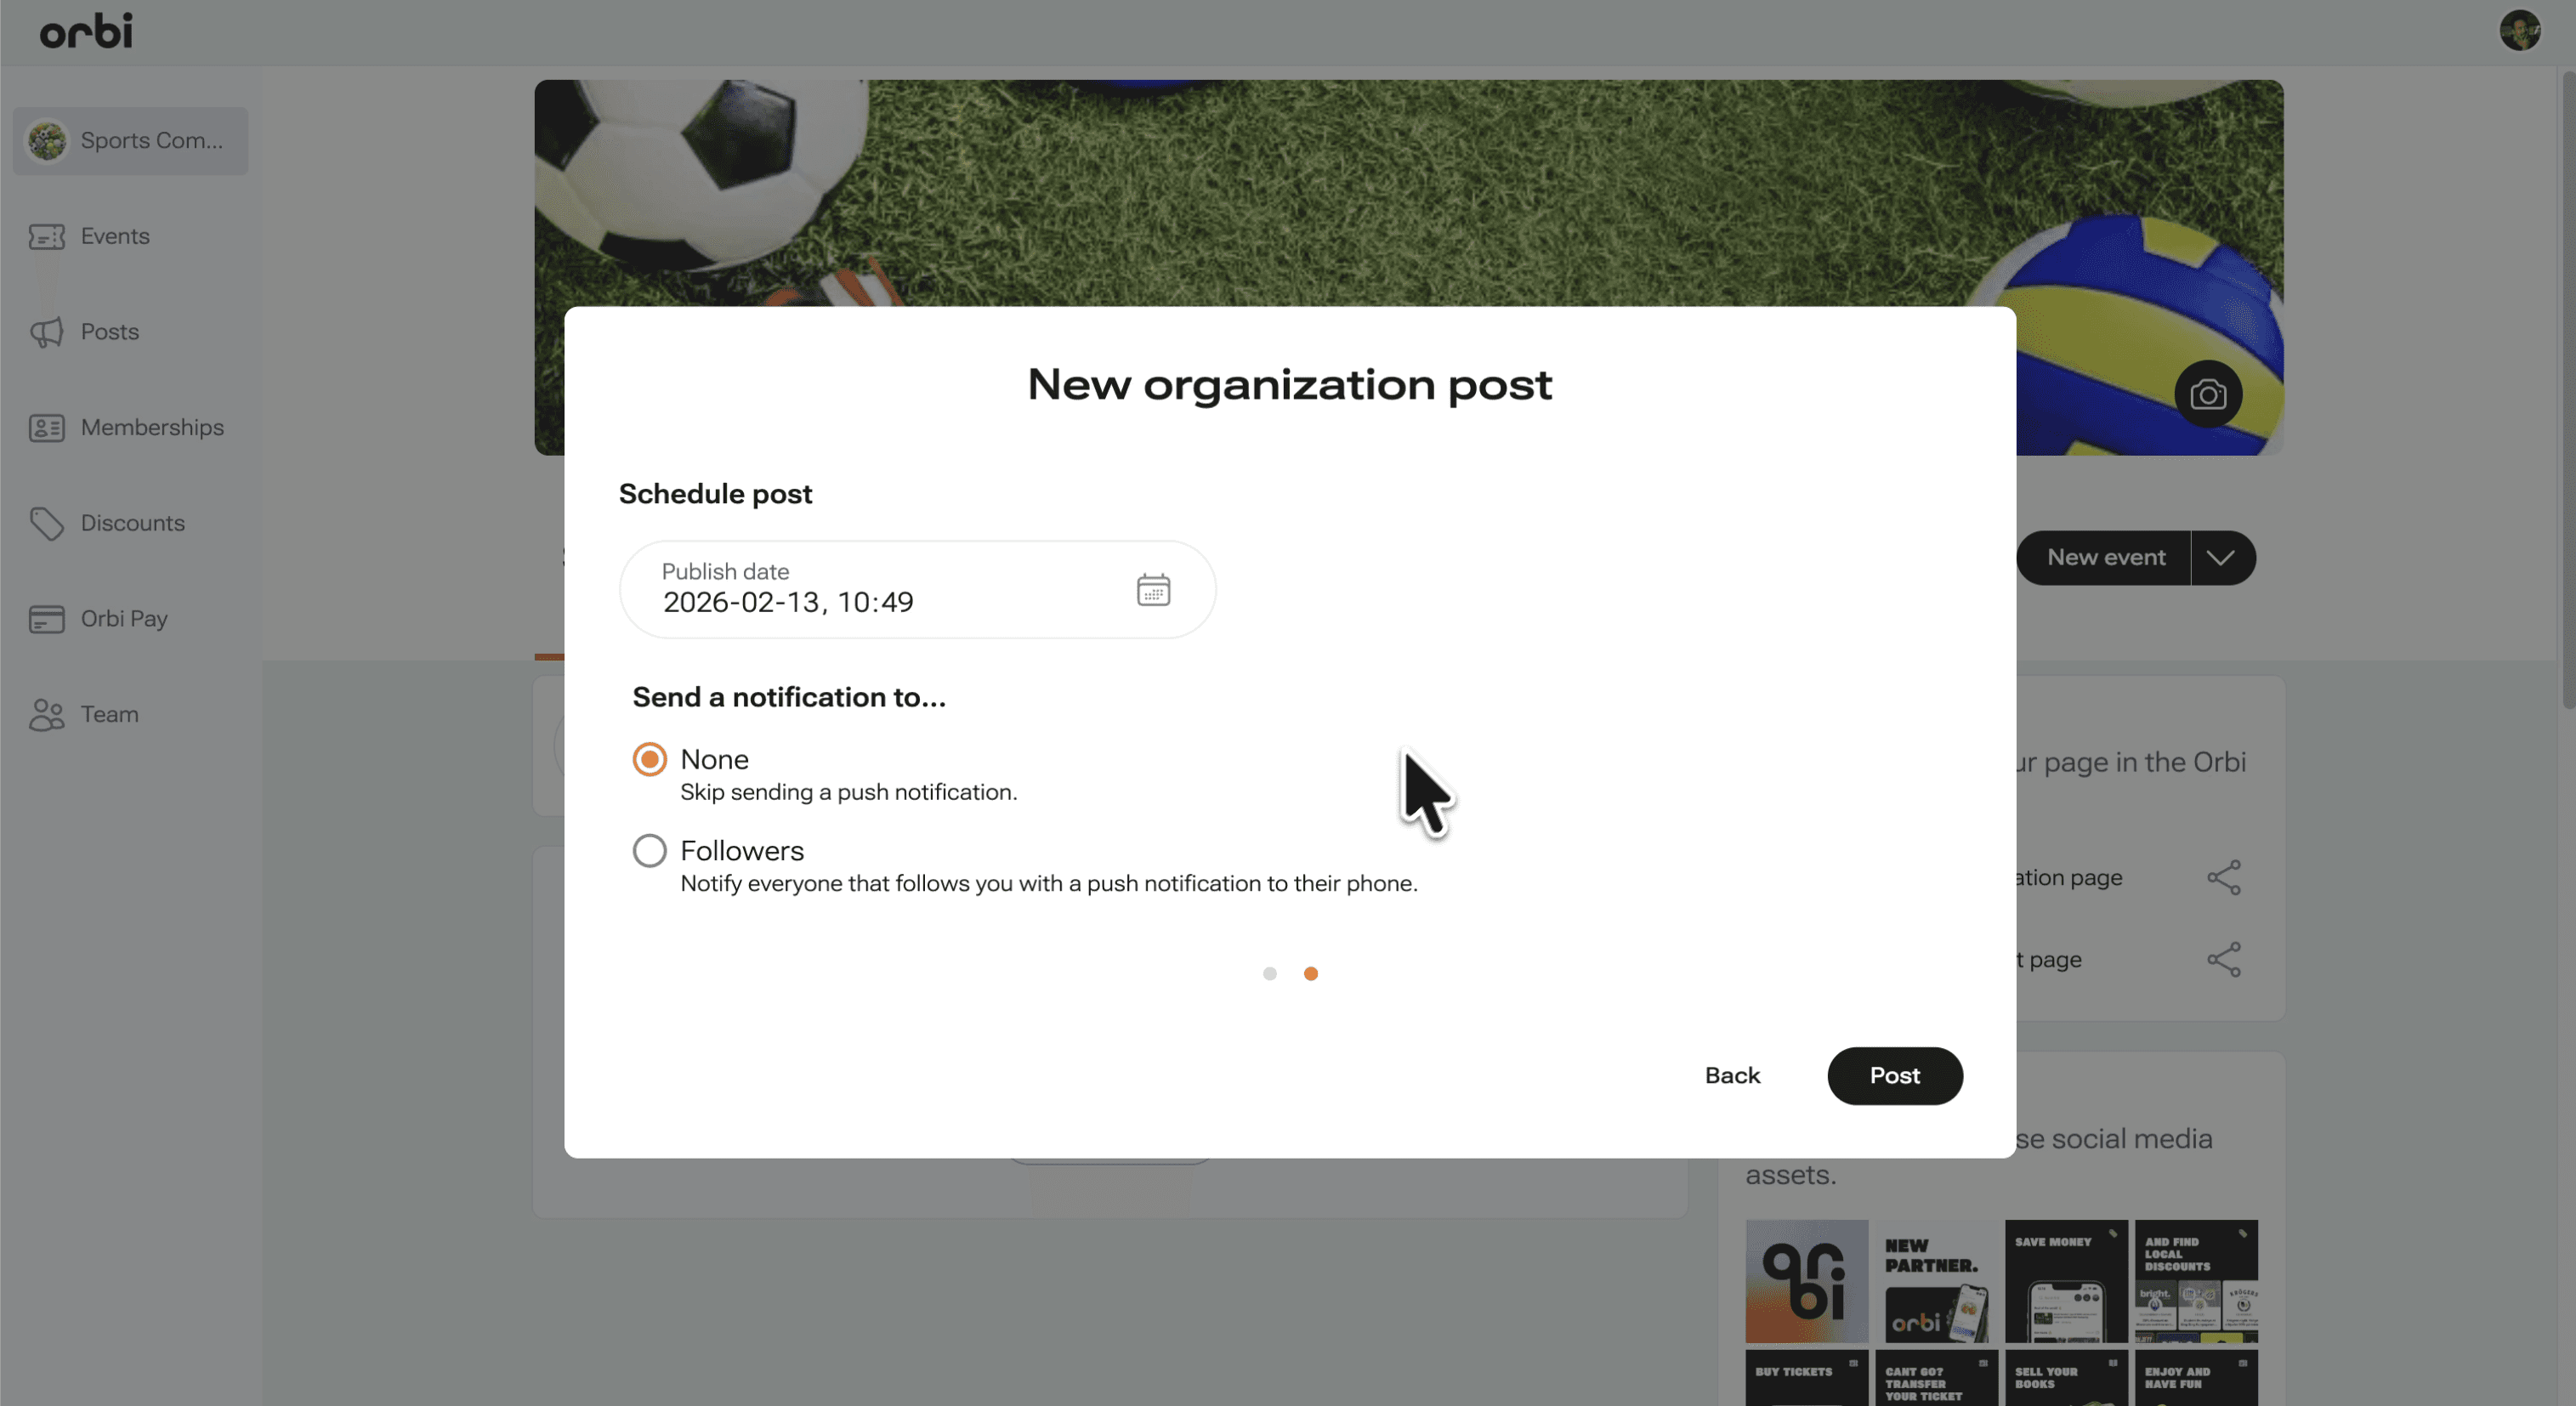
You can either:
Post immediately
Schedule your post for a later time
You also have the option to send a push notification so students are notified directly.
Step 5: Publish your post
Click Post to publish your content.
Your post will now be visible to your audience.
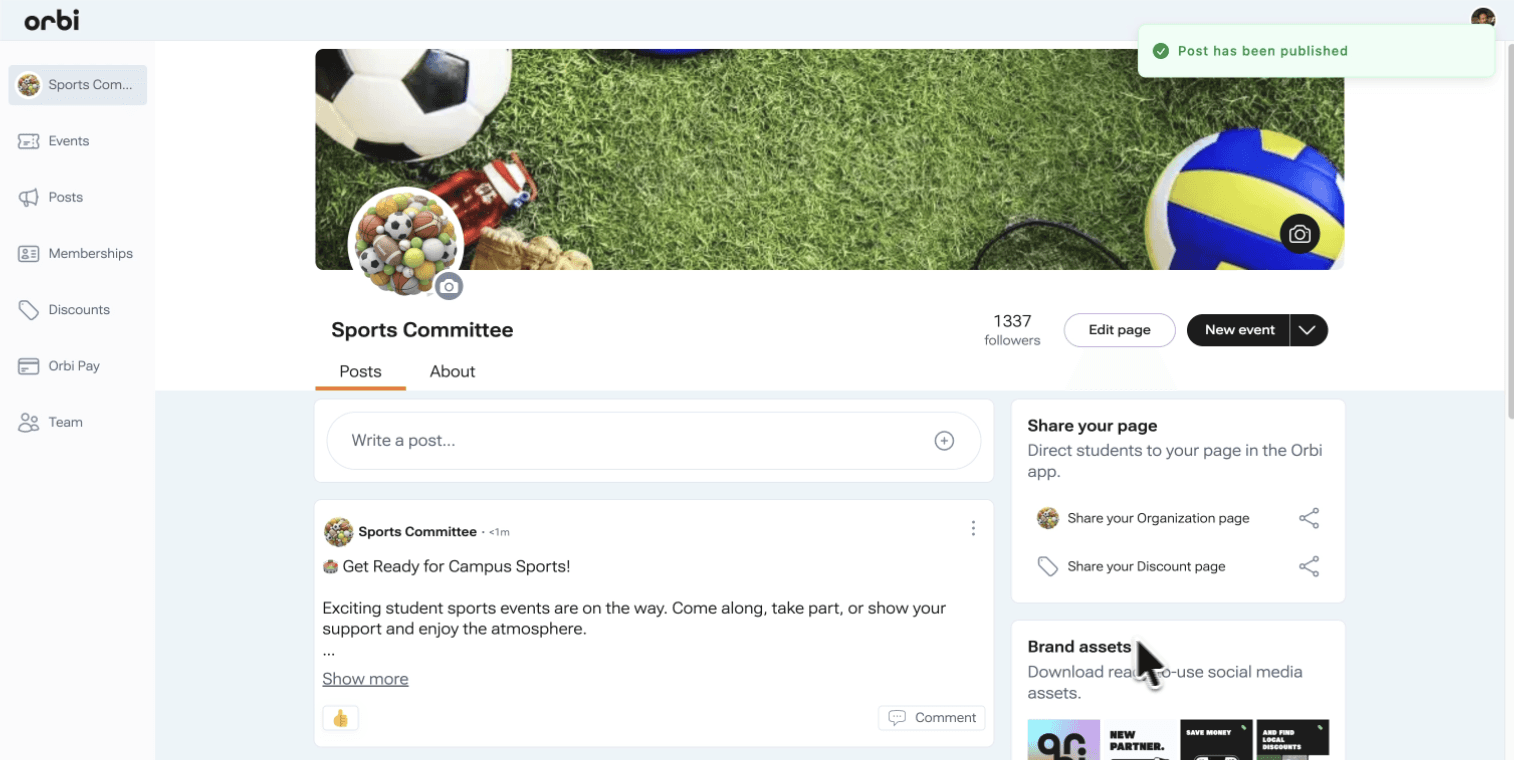
Step 6: Engage with your audience
After publishing, students can:
React to your post
Leave comments
You can respond by:
Clicking Comment
Writing your reply
Reacting to their messages
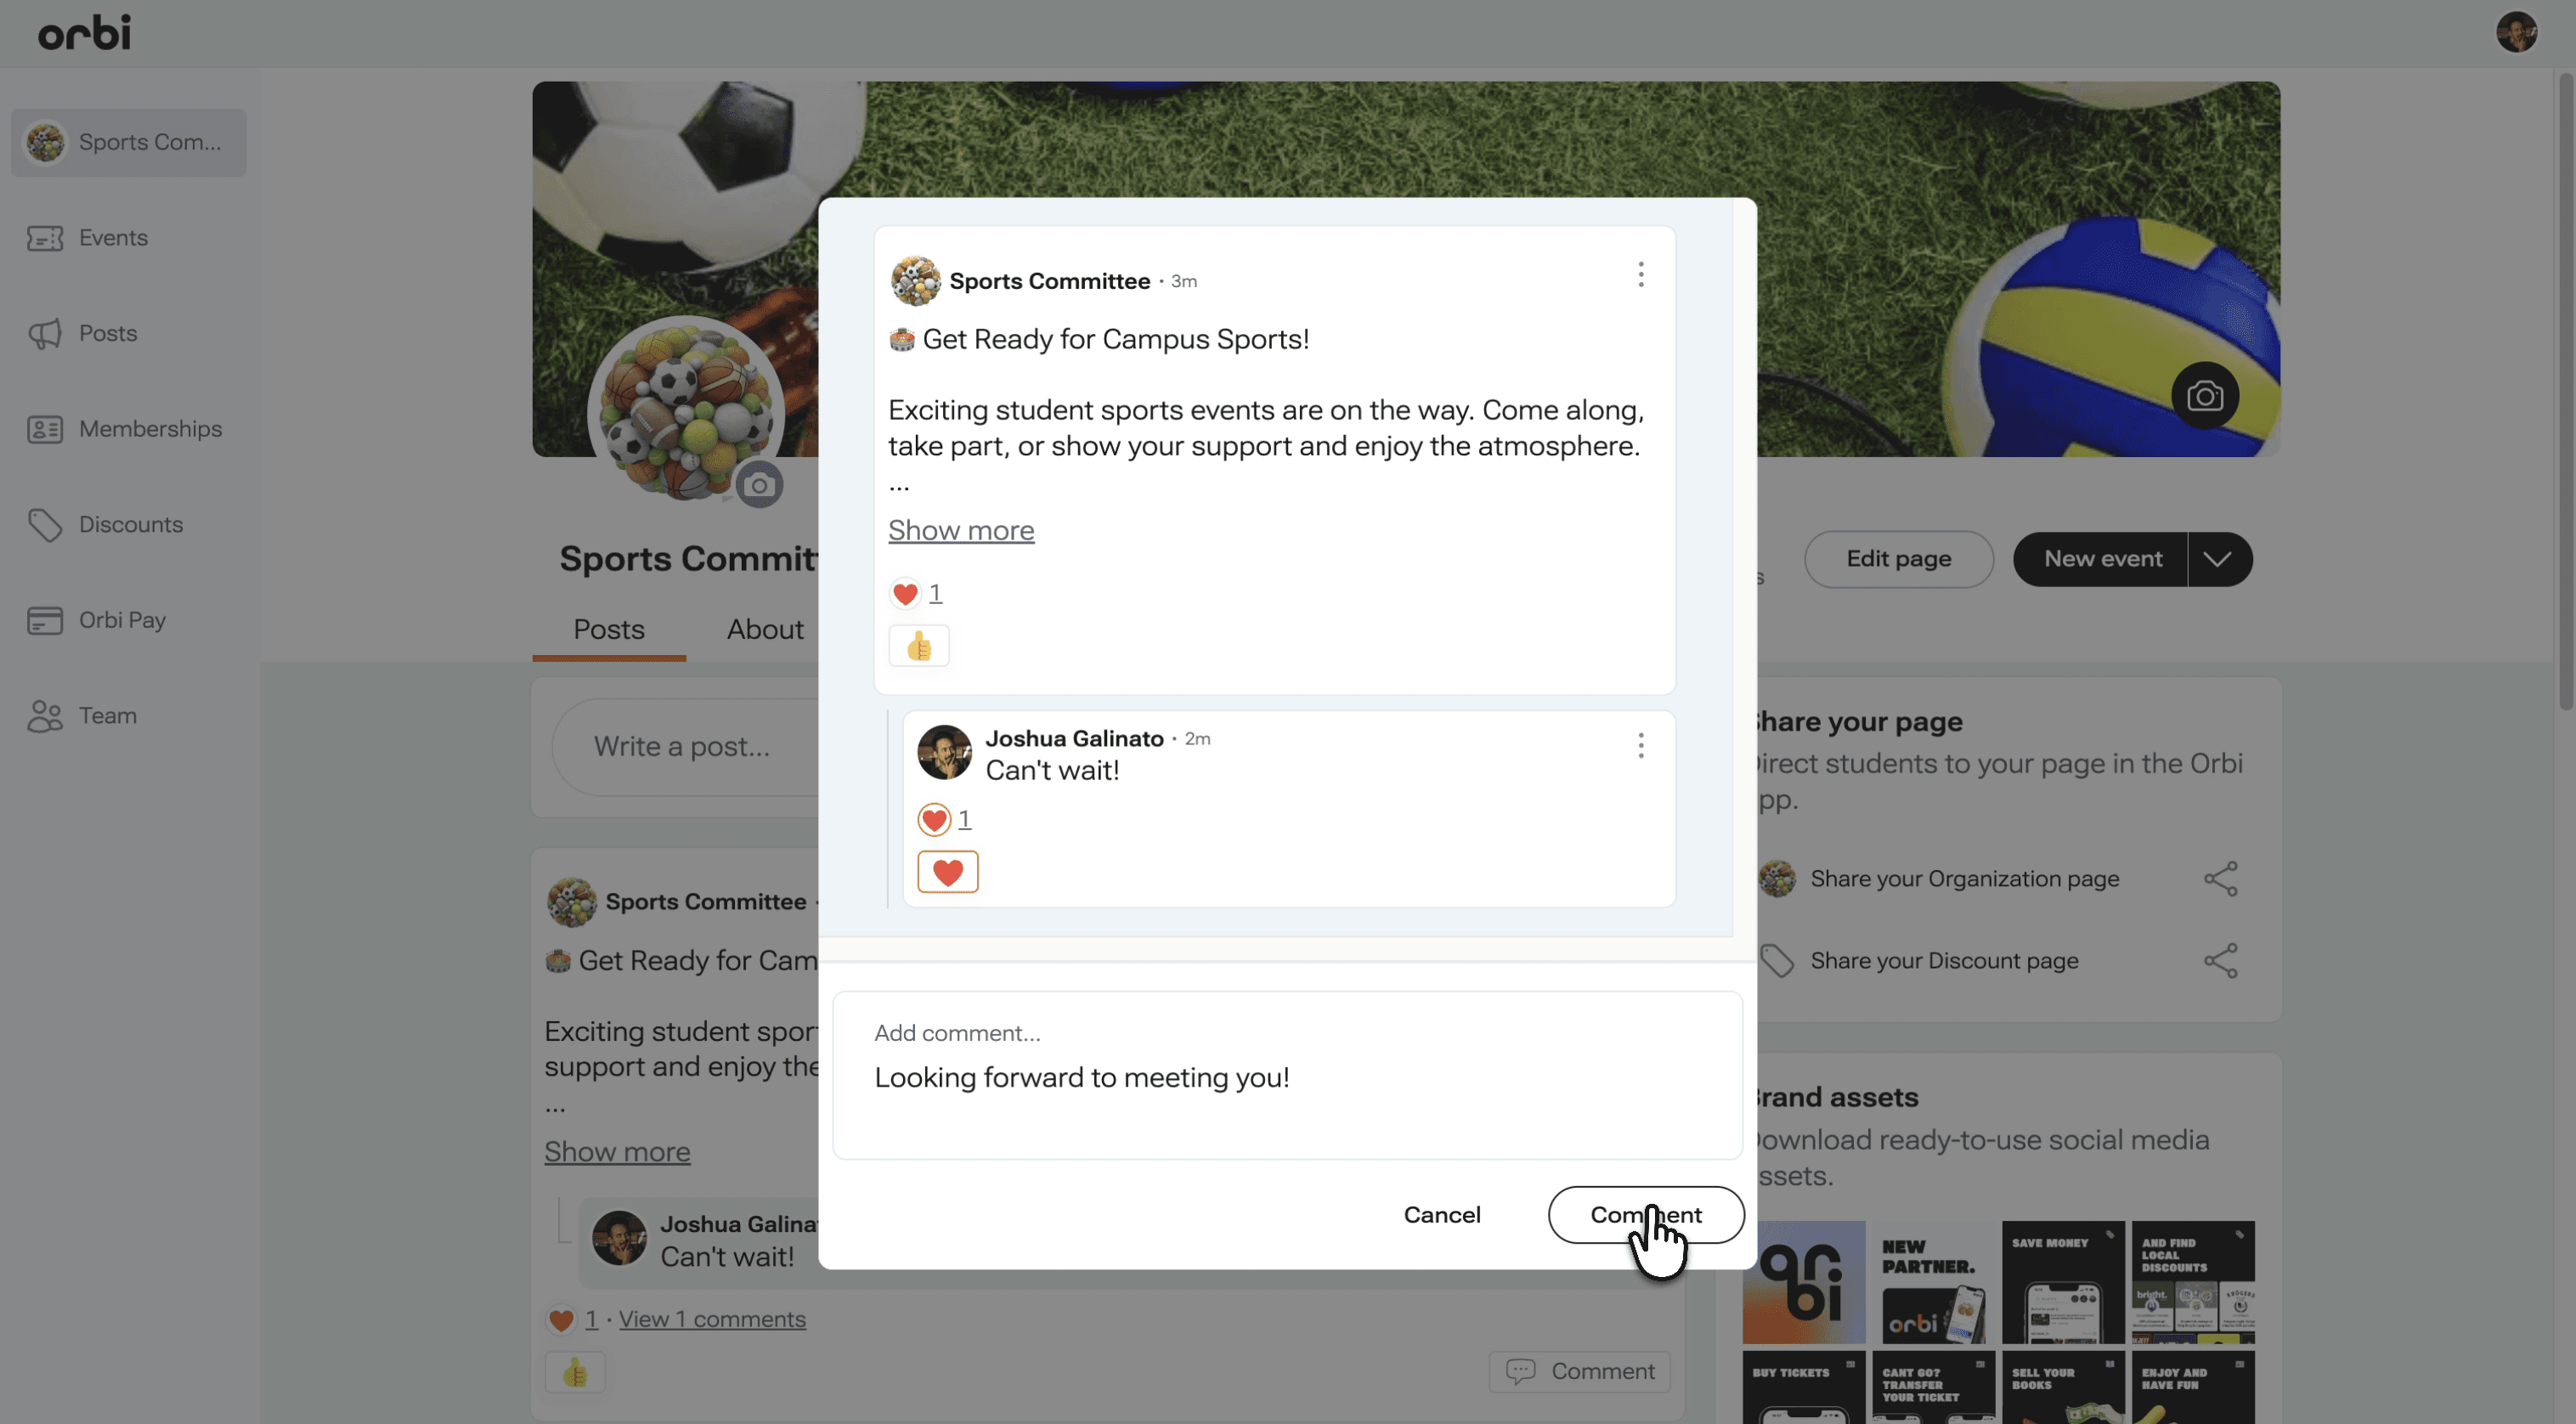
Step 7: Share posts across Orbi
You can create posts in different places:
Your organization page
Events
Memberships
This allows you to target the right audience with your message.
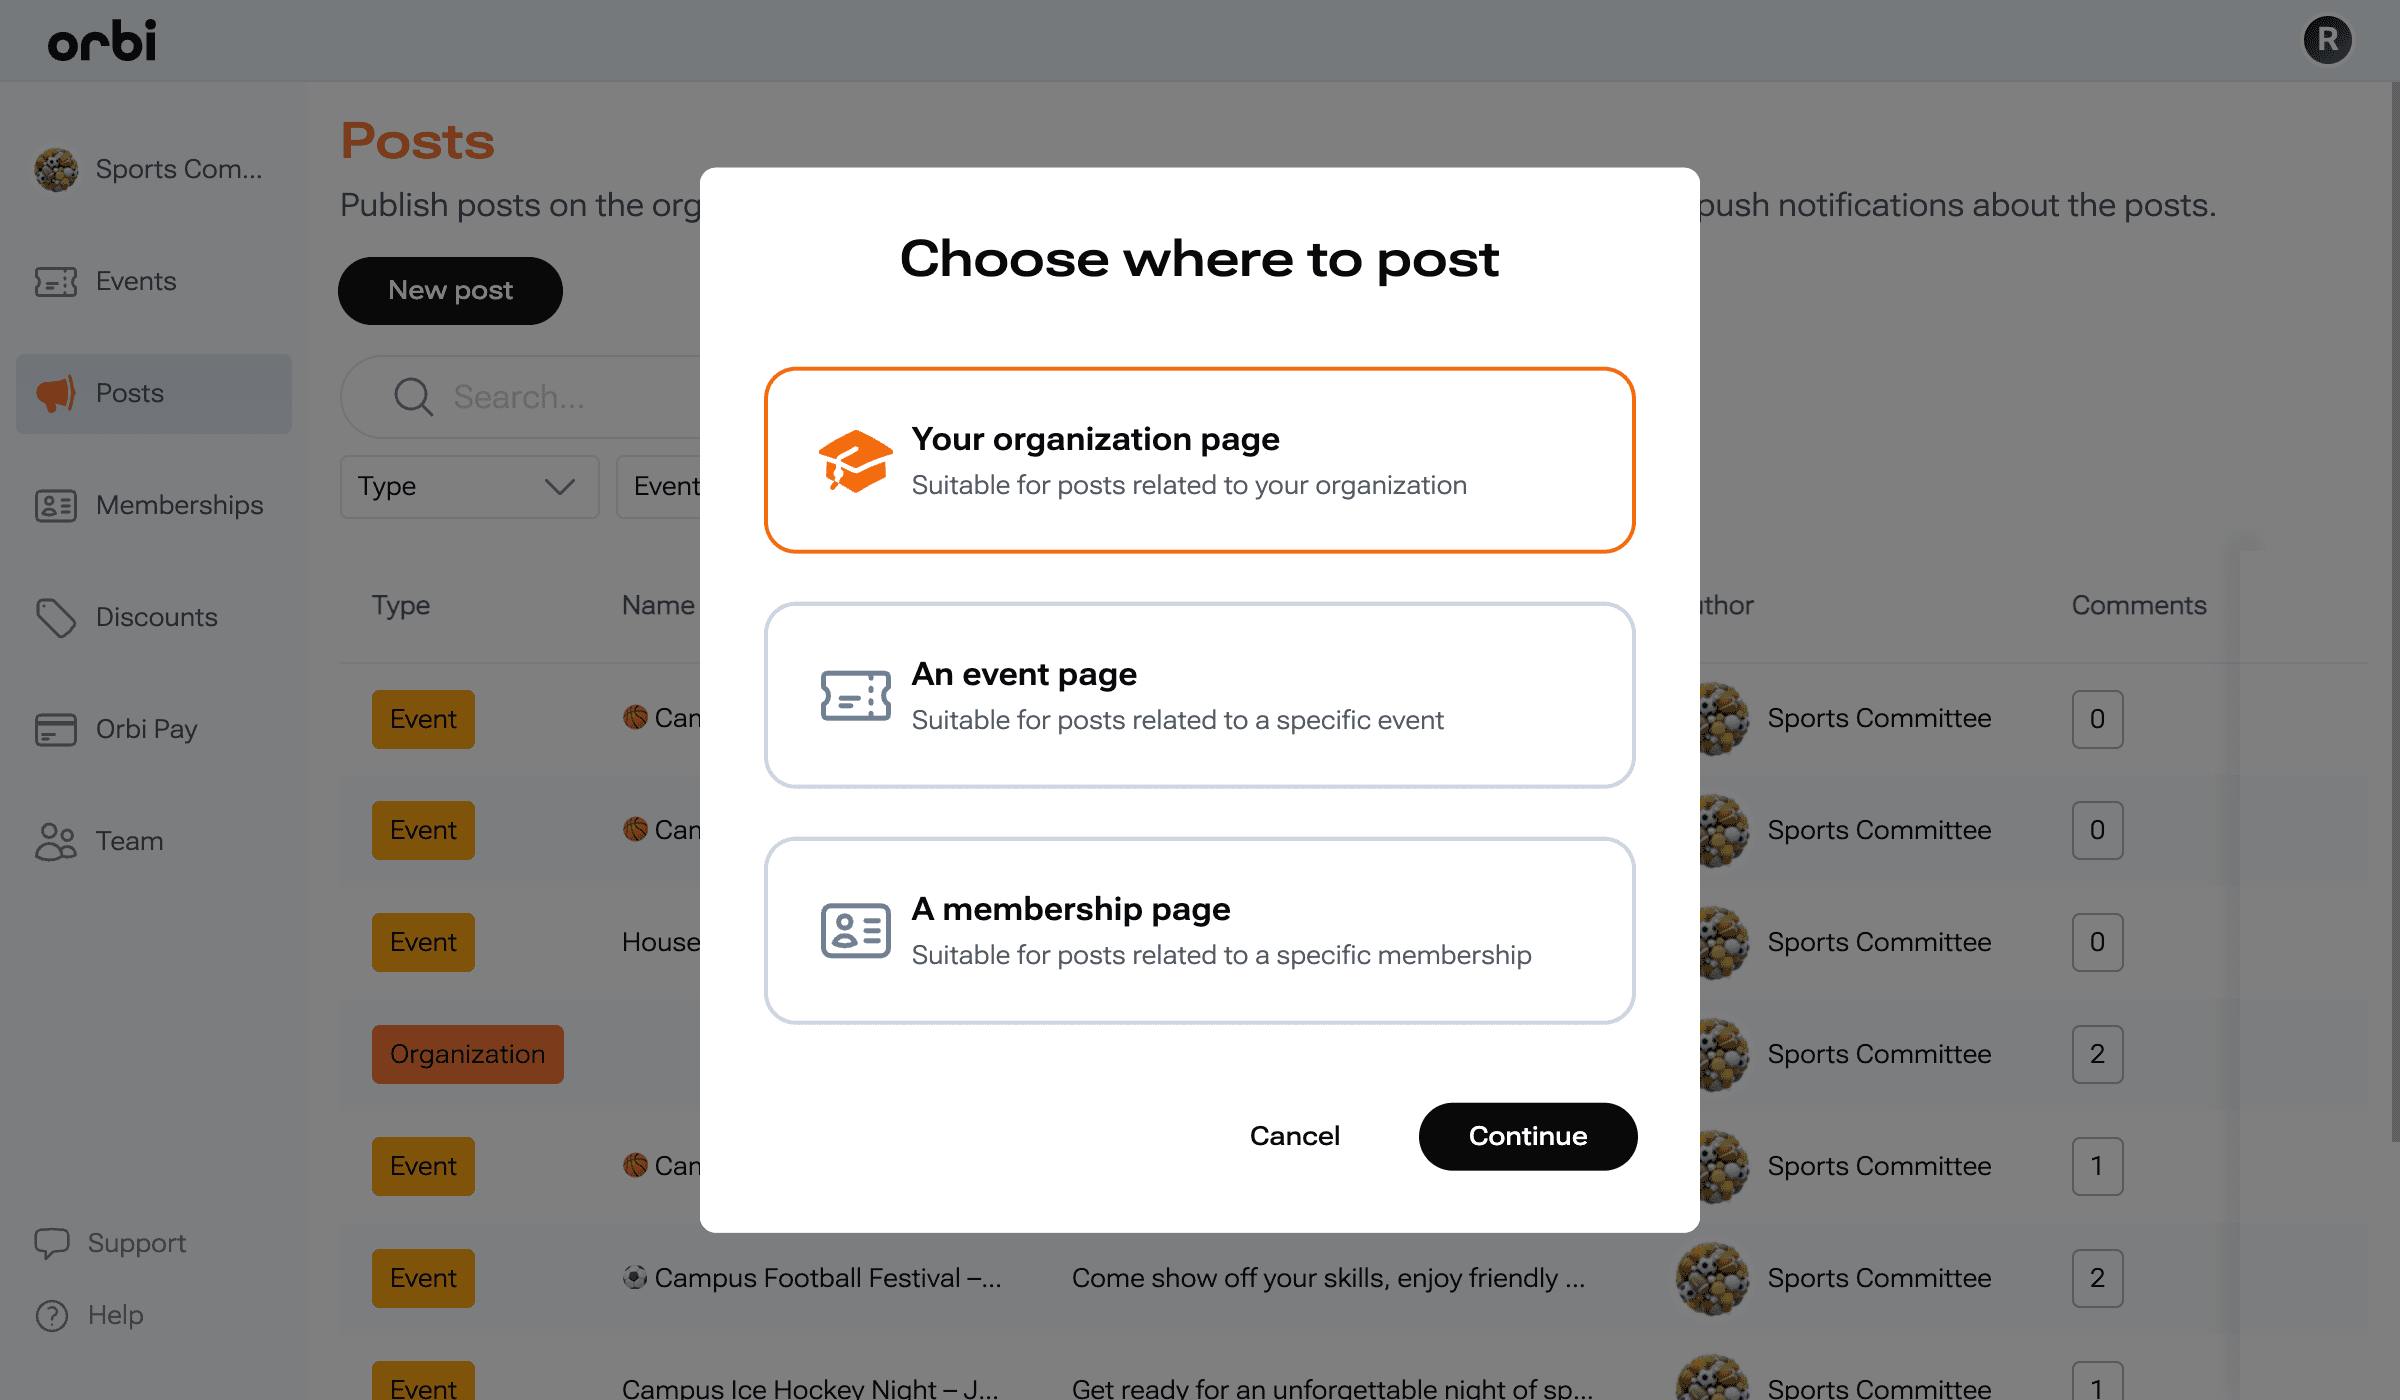
Step 8: Manage your posts
To manage all your posts in one place:
Go to the Posts section
View all your posts in a list
Click on a post to view or interact with it
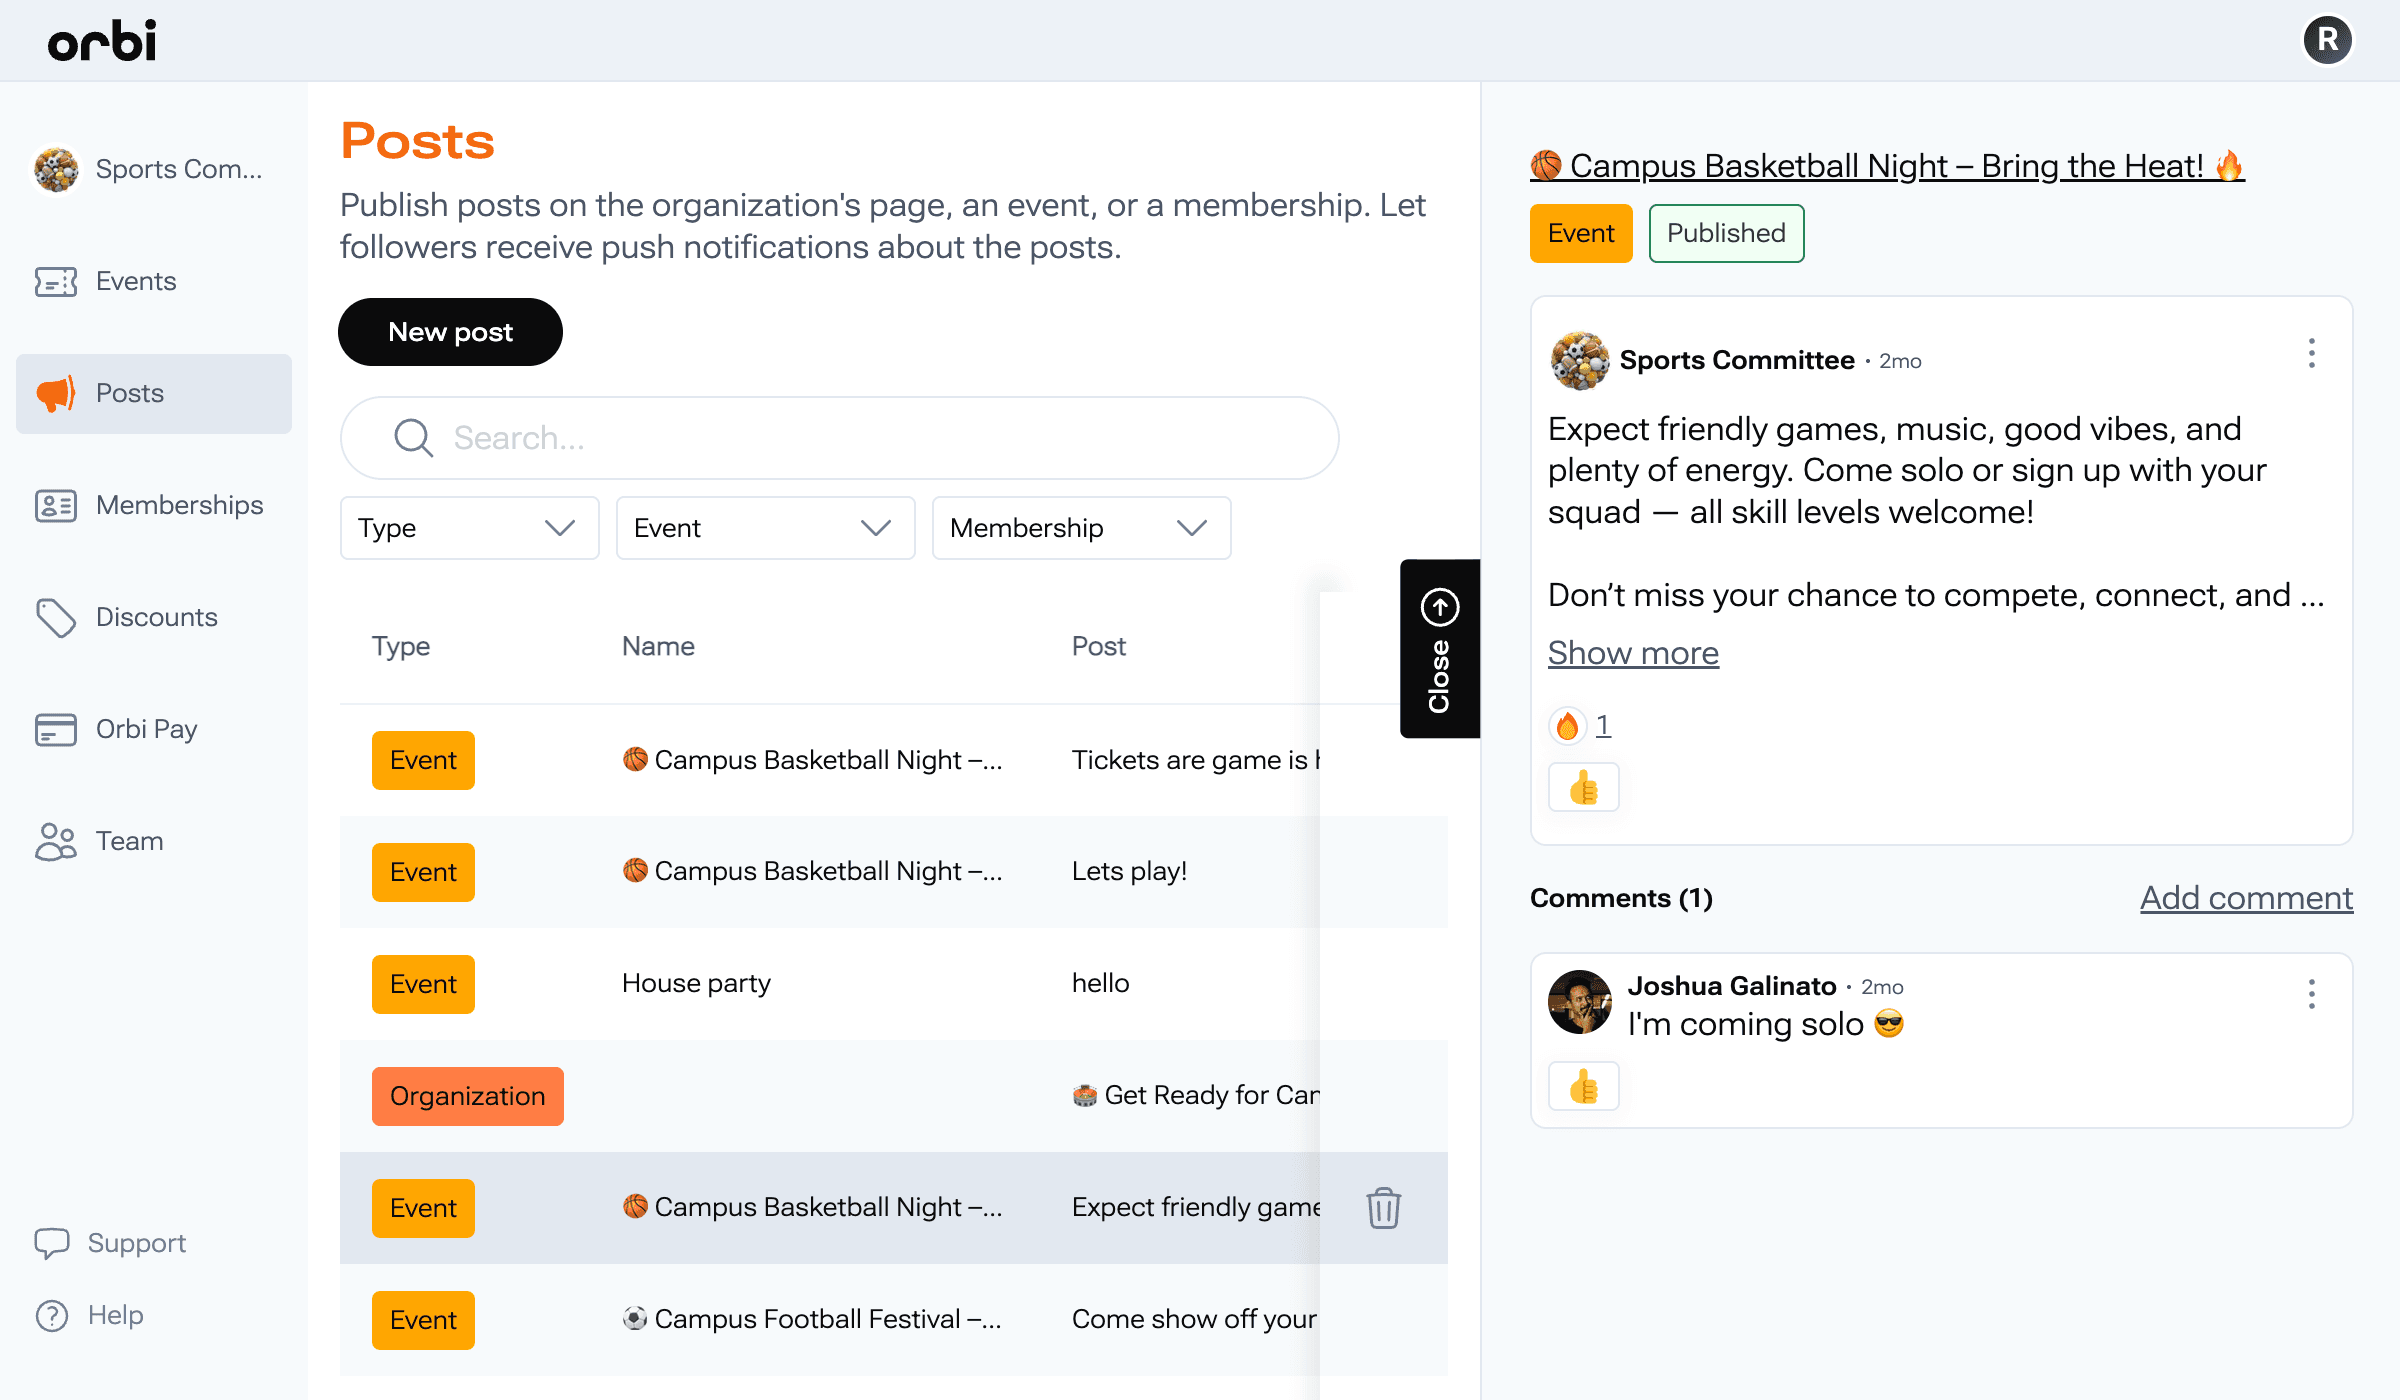
Your first post is live
You can now start engaging with your audience, sharing updates, and building a stronger connection with your community.
Was this resource helpful?
Up next
Share and invite: Get your students to join
Learn how to share your organization, events, and memberships using links to easily invite students and grow your community.
Read more ->