In this article
Create your first event, manage tickets, and deliver a great experience for your attendees.
Introduction
Events are at the core of Orbi. You can create, customize, and publish events to engage your audience, sell tickets, and manage attendance.
Follow the steps below to create your event.
Step 1: Create a new event
Go to the Events section in your dashboard.
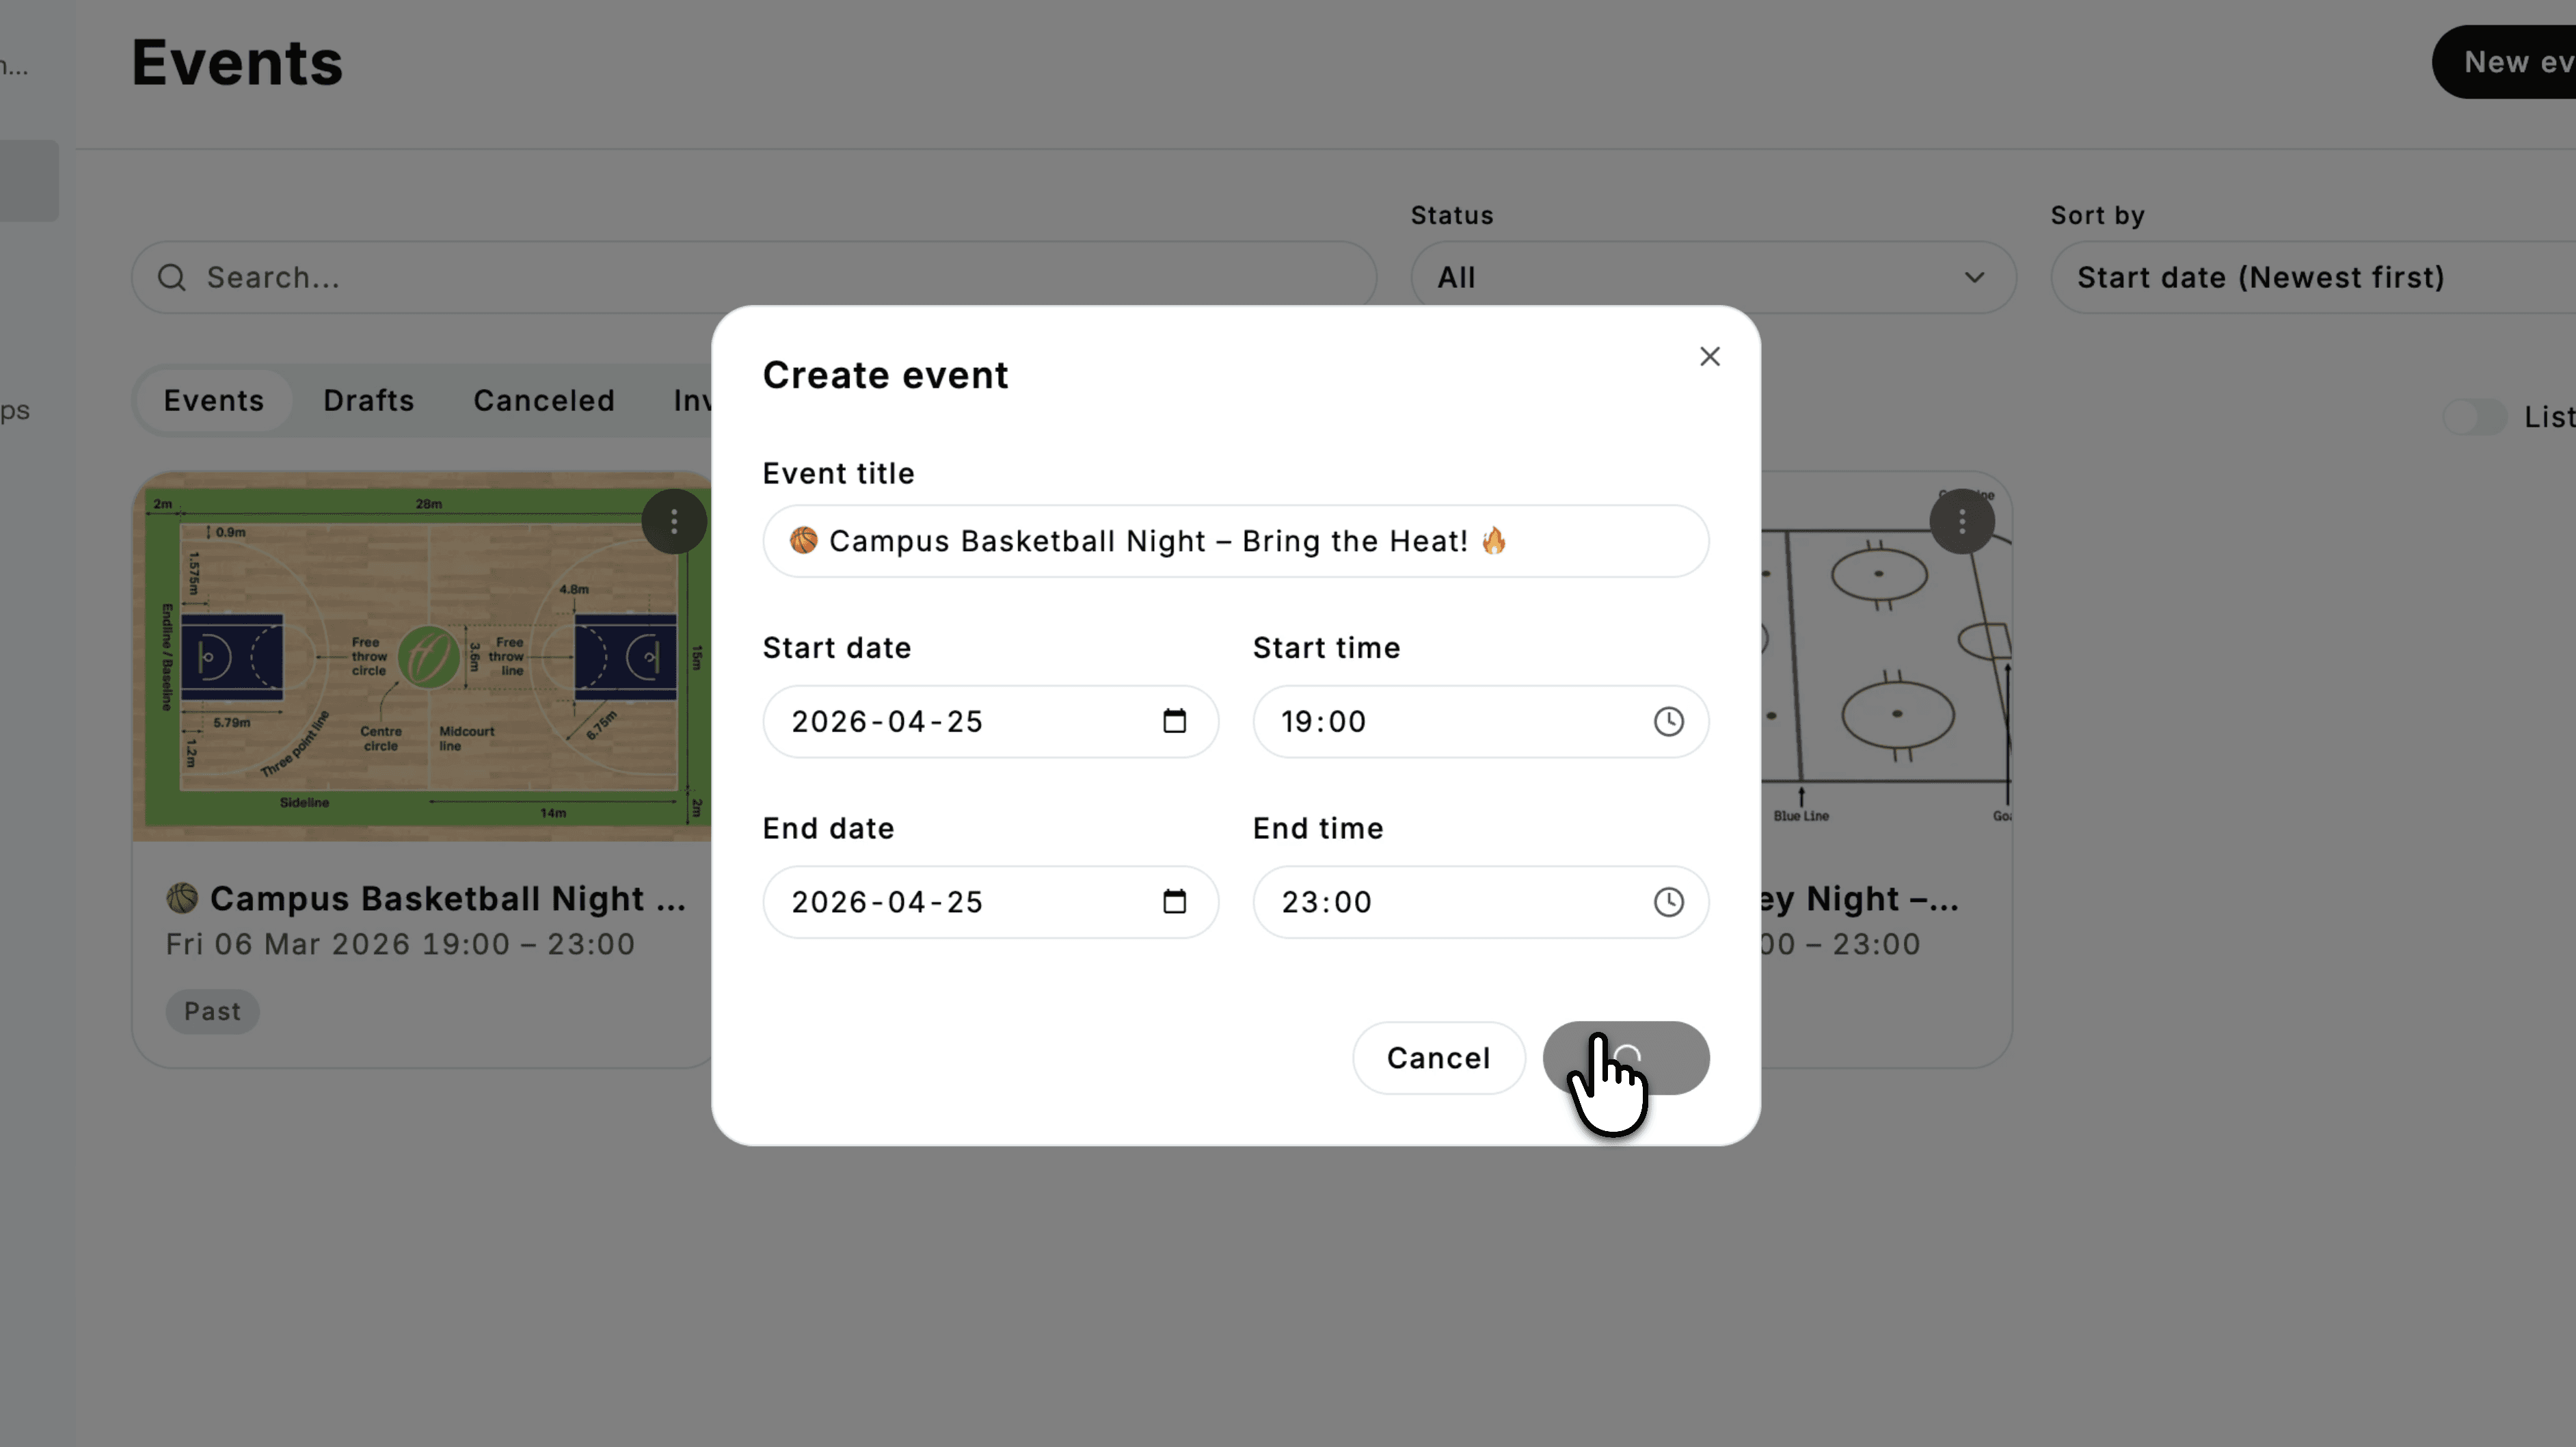
Click New event
Enter:
Event title
Start date and time
End date and time
Click Create to generate your event as a draft.
Step 2: Add event details
Fill in the core information for your event.
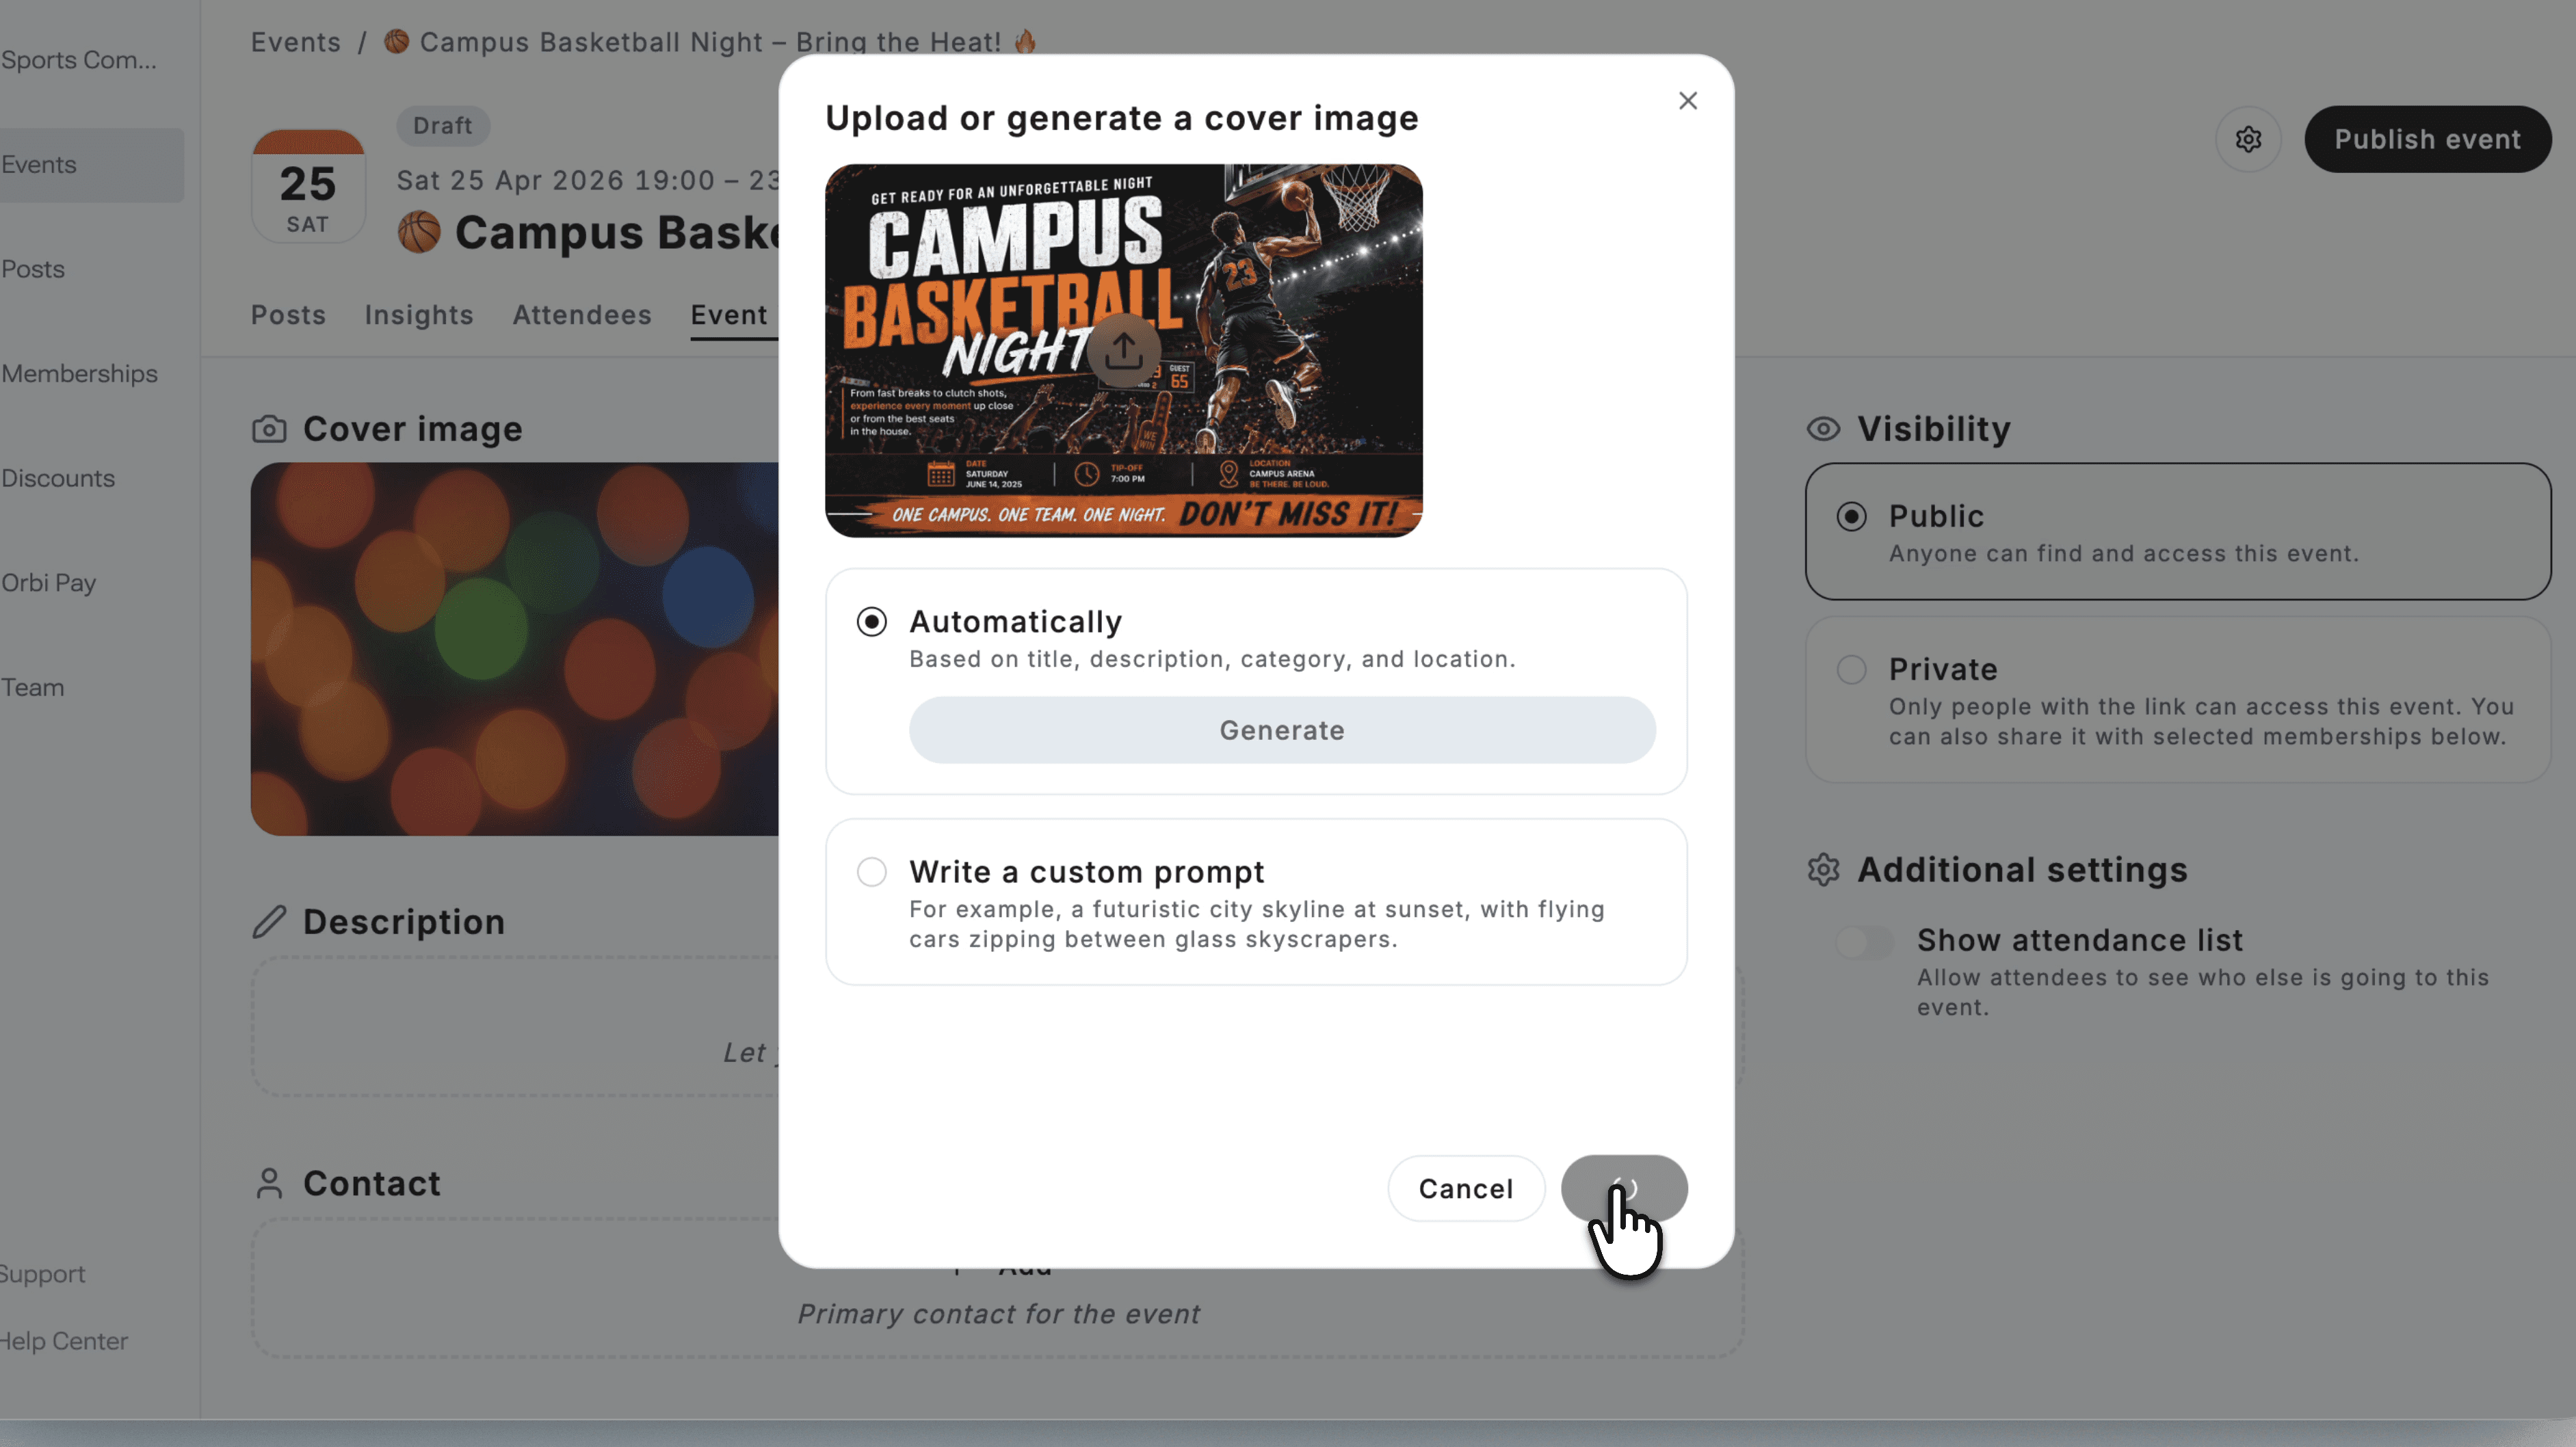
Upload a cover image
Upload an image or generate one automatically
This will be the main visual for your event
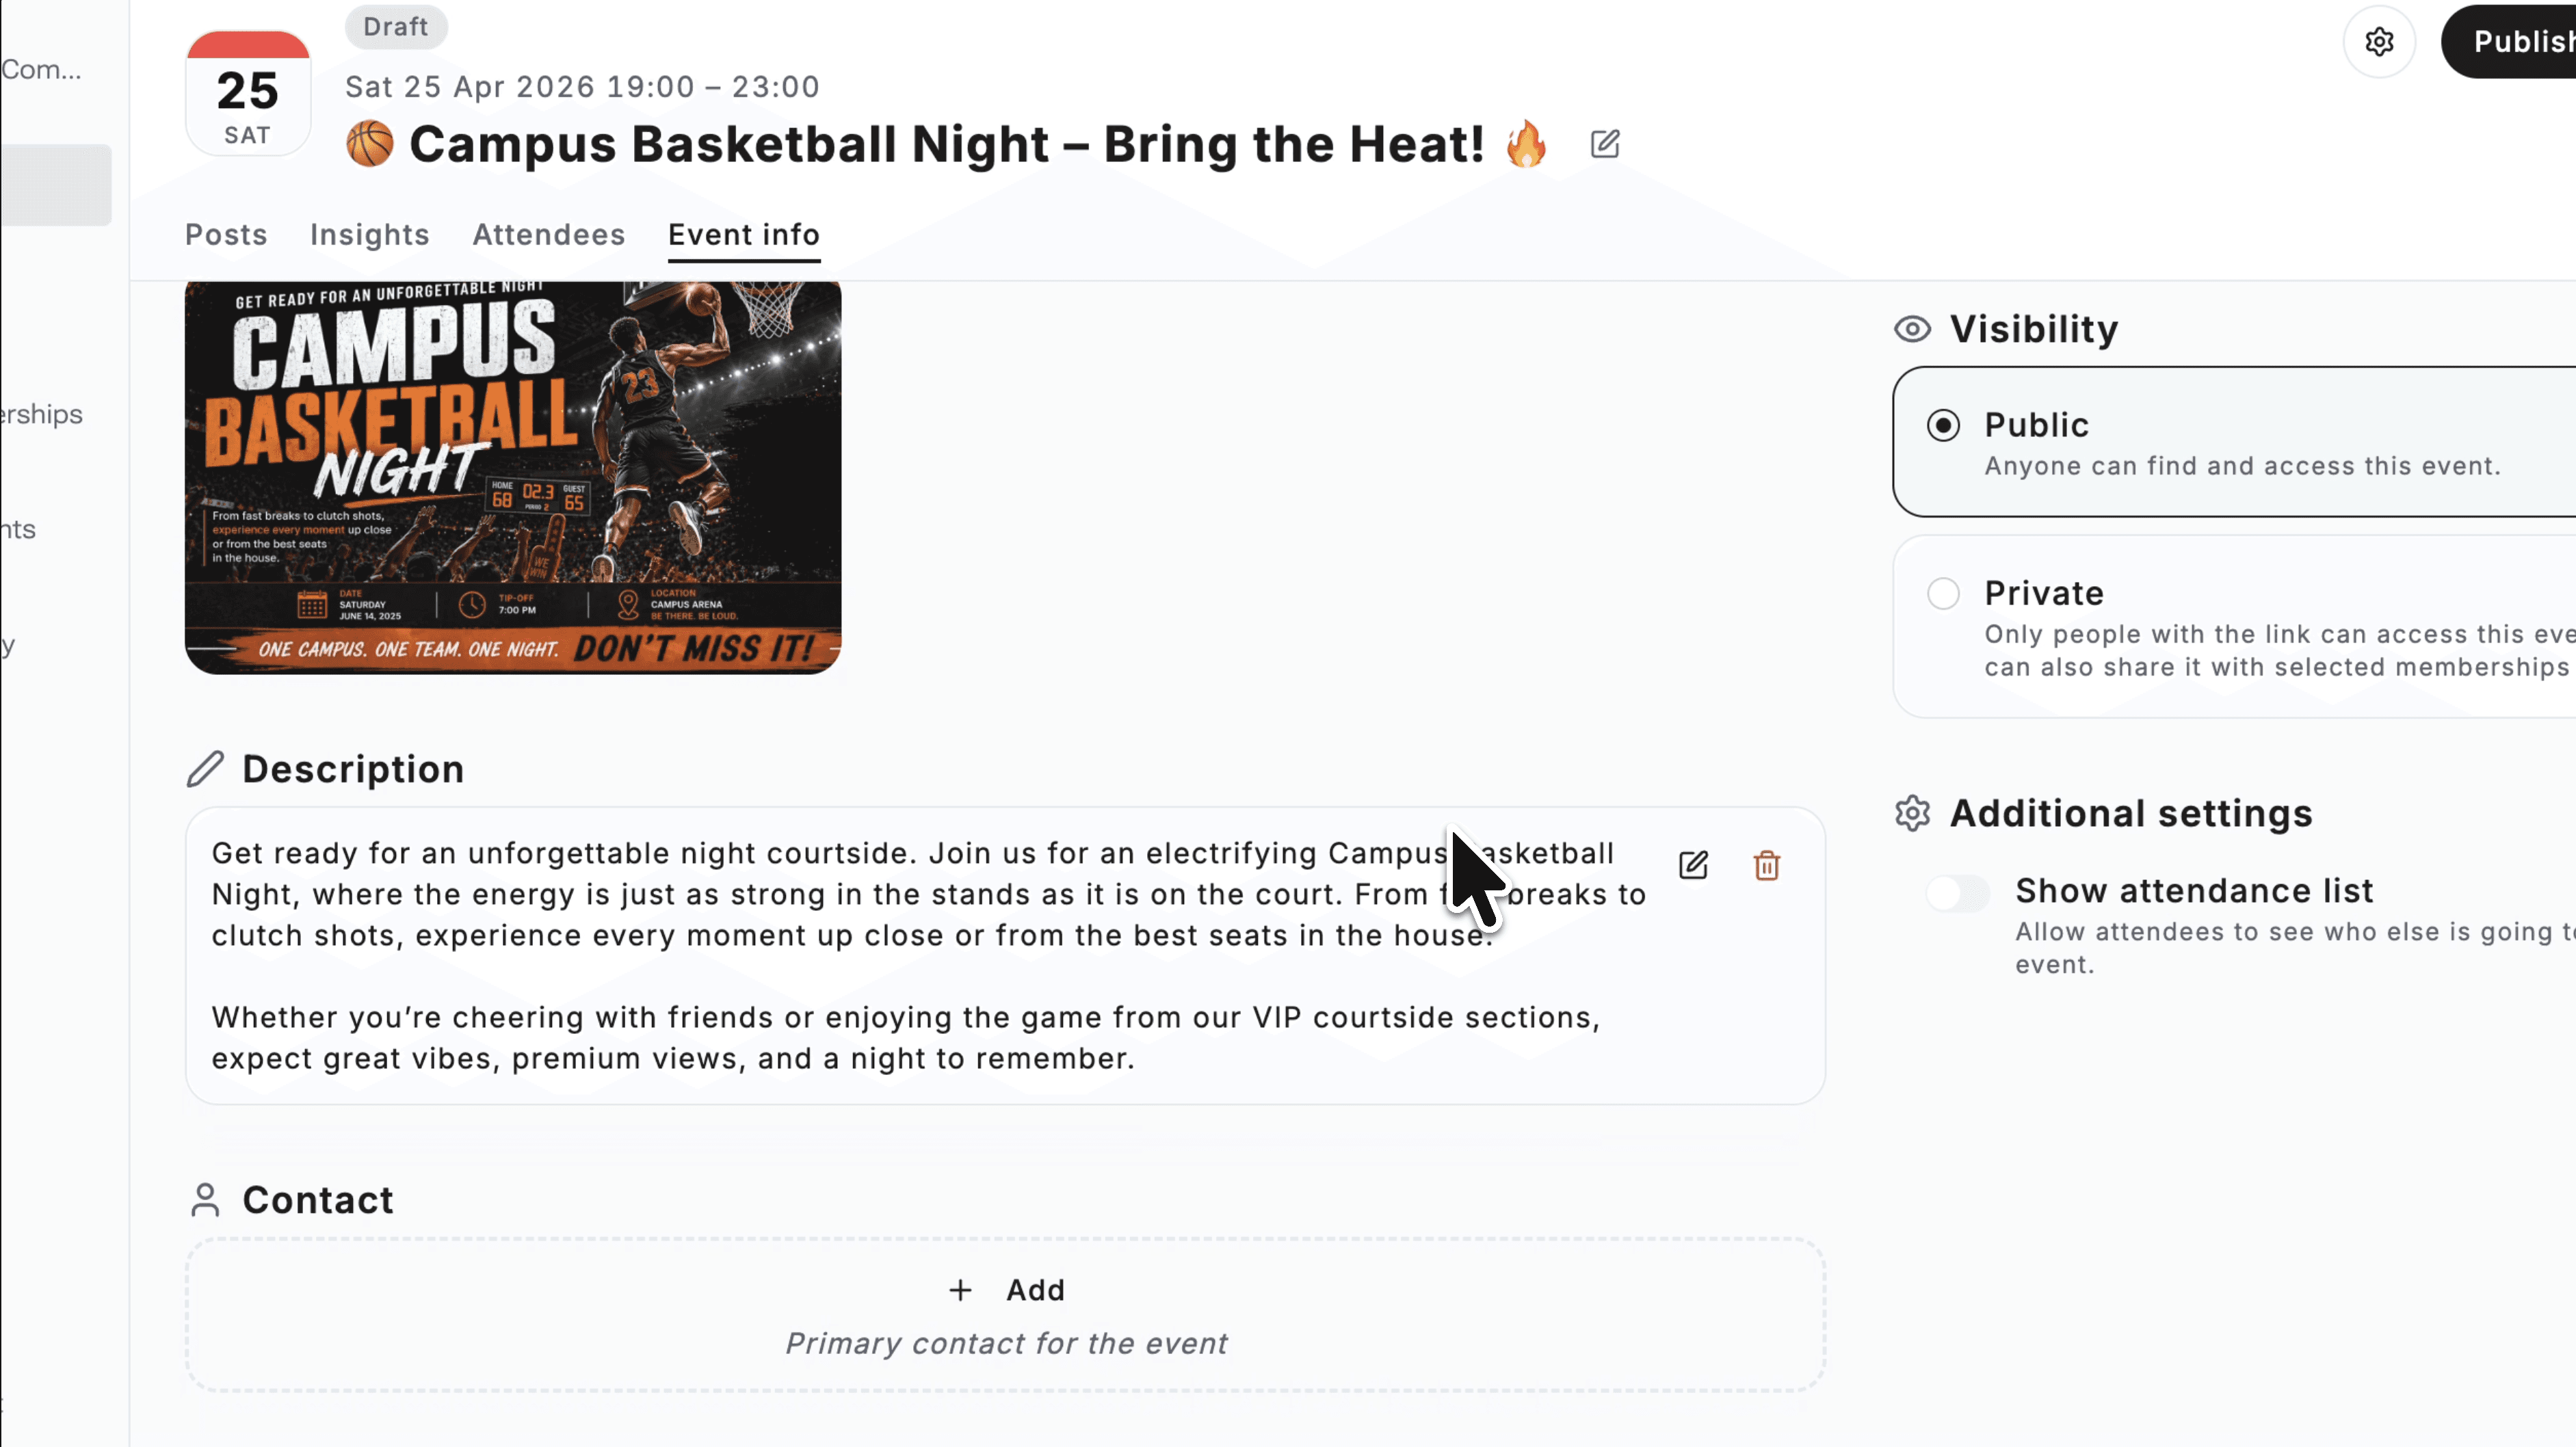
Add description
Write a clear and engaging description
Explain what the event is about and why students should attend
Add contact information
Include:
Name of contact person or organization
Email address
Optional phone number
Add links
Include relevant links such as websites or sign up pages
Add location
Enter a physical or digital location
A map will be generated automatically for physical addresses
Step 3: Add co-hosts (optional)
If you are organizing the event with others, you can add co-hosts.
To add co-hosts:
Click Add under co-hosts
Search for the organization
Invite them
Co-hosts can:
View event details and insights
Help increase visibility across campuses
Step 4: Create tickets (optional)
If your event requires registration or payment, set up tickets.
To add a ticket:
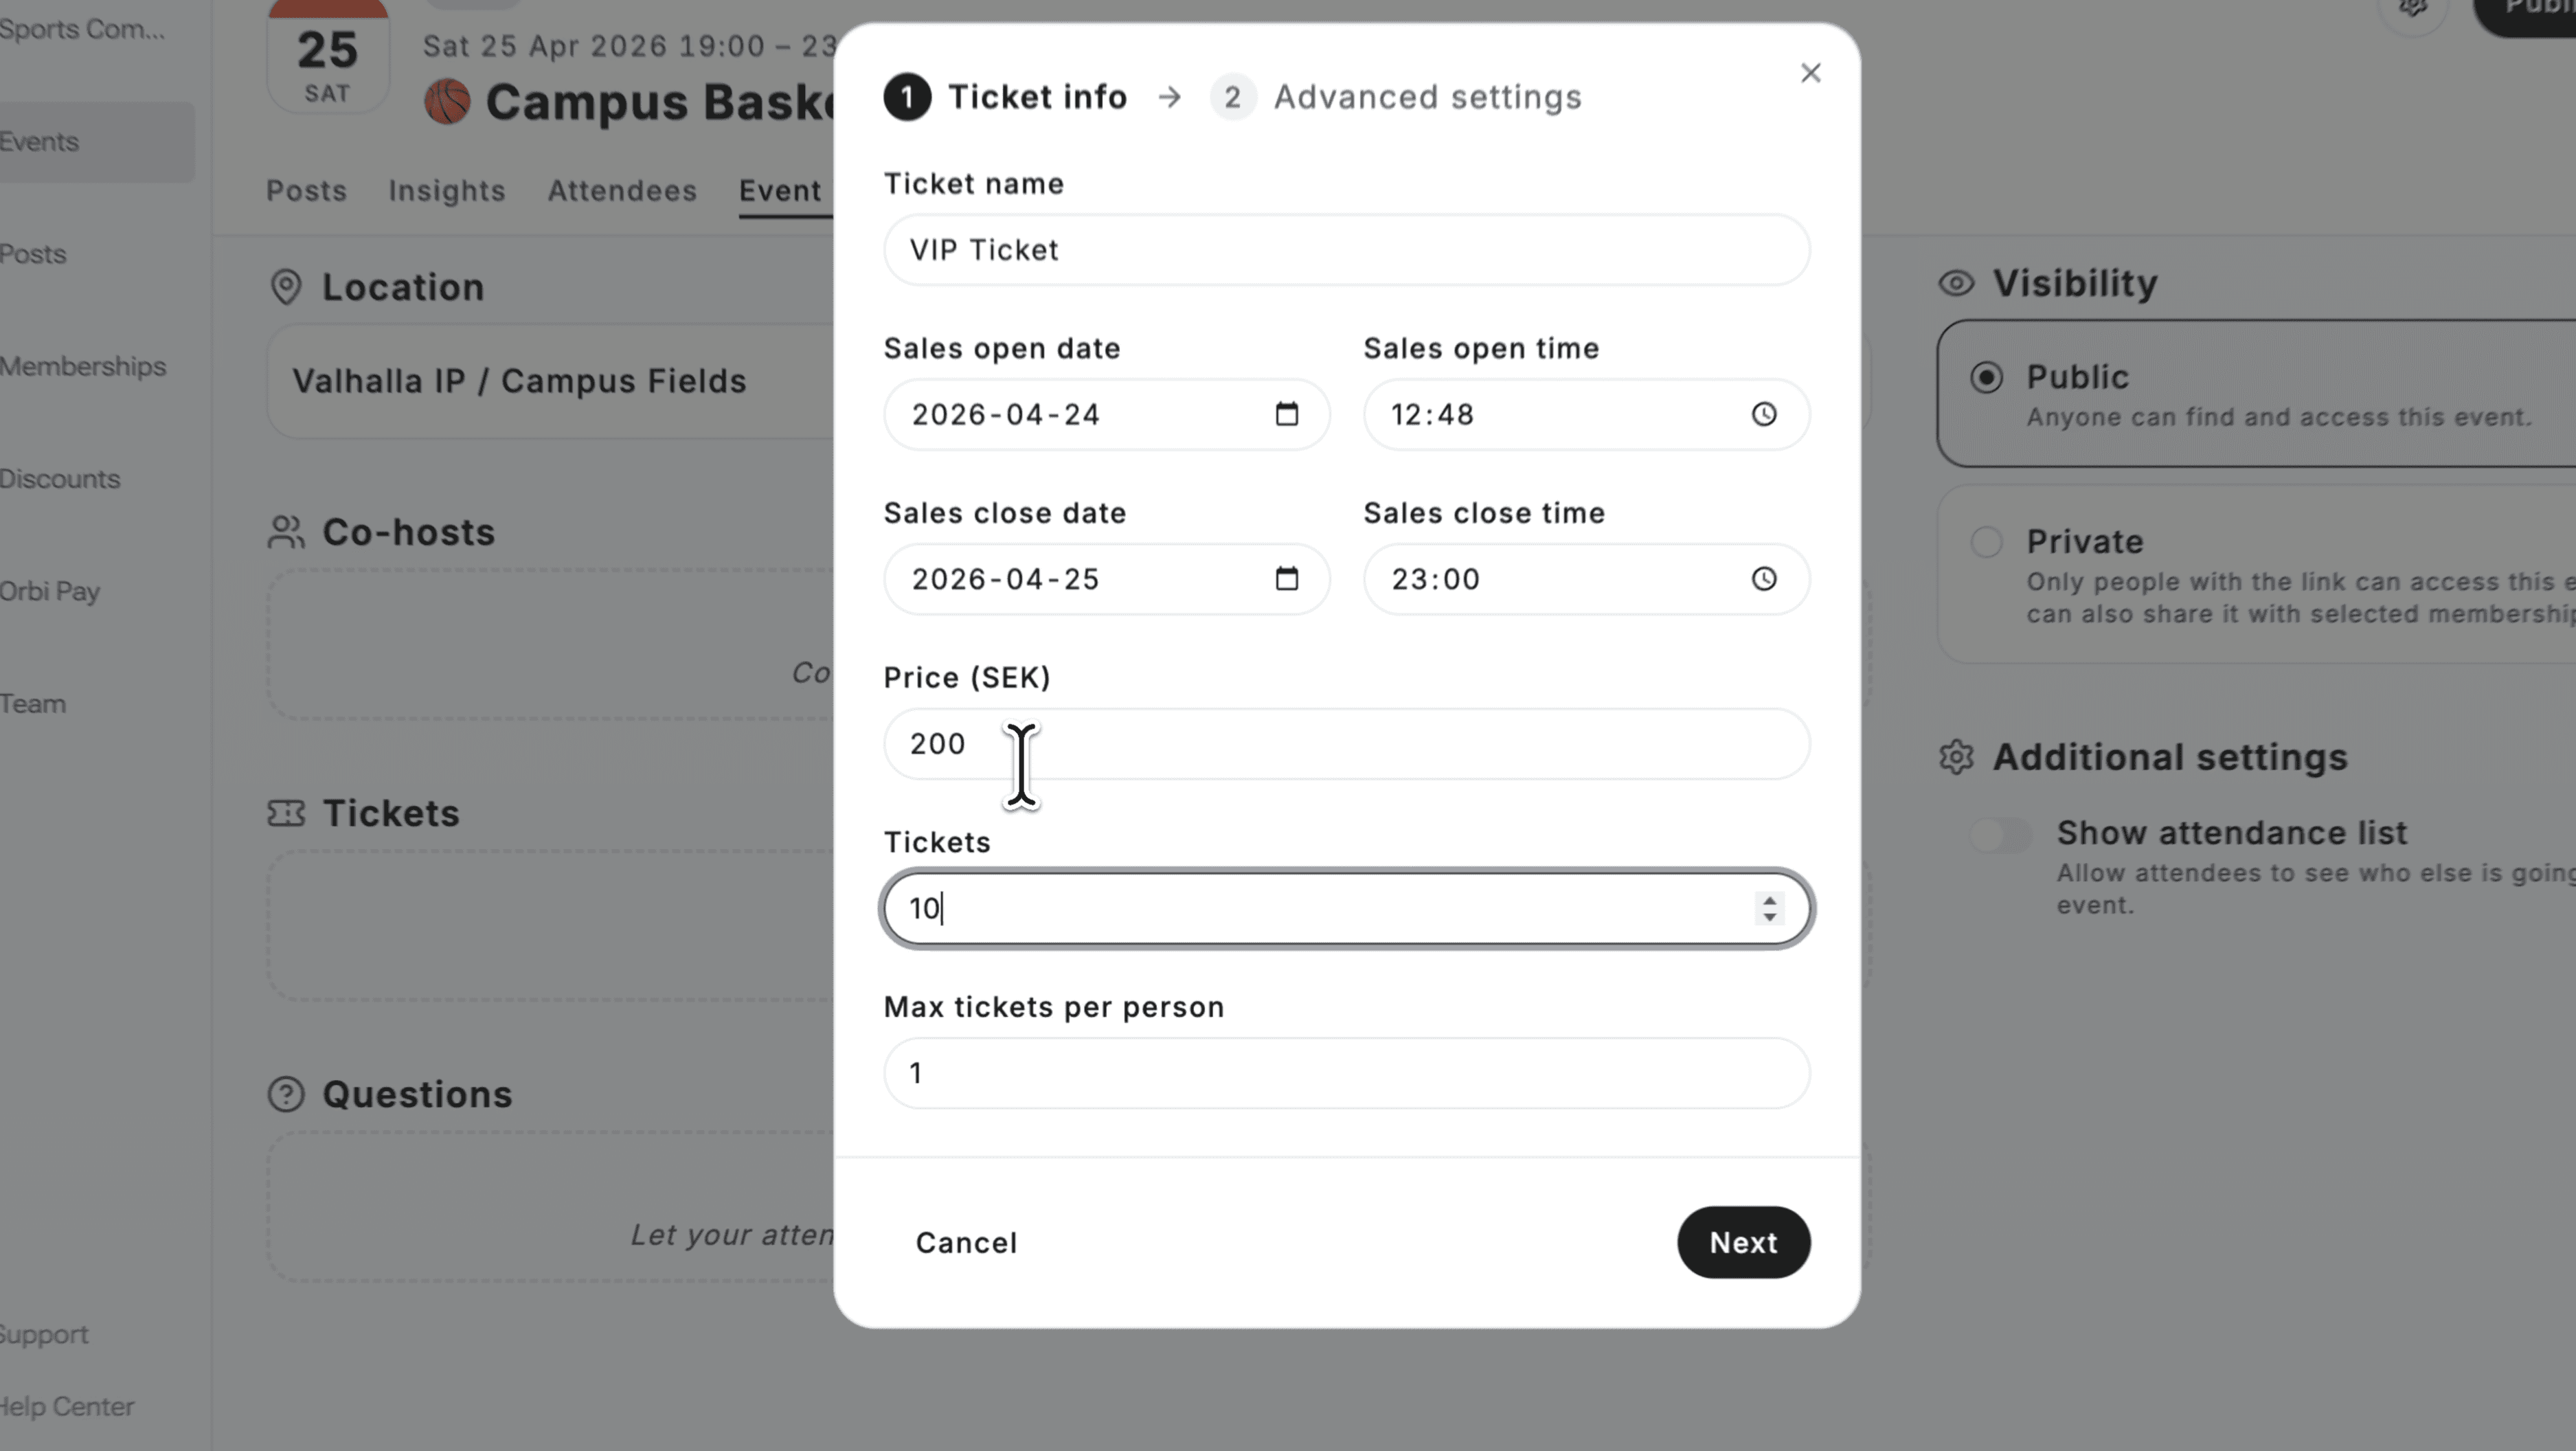
Click Add ticket
Fill in:
Ticket name (e.g. Early Bird, Standard)
Sales start and end dates
Price (set to 0 if free)
Number of tickets available
Max tickets per user
Additional options:
Add a ticket description
Enable ticket transfer
Restrict tickets to specific memberships
Add membership discounts
Create discount codes
This allows you to fully control access and pricing.
Step 5: Add questions (optional)
Collect additional information from attendees.
To add questions:
Click Add question
Choose question type:
Free text
Multiple choice
Checkbox
Set rules:
Required or optional
Add extra cost for specific options if needed
You can also choose which tickets the question applies to.
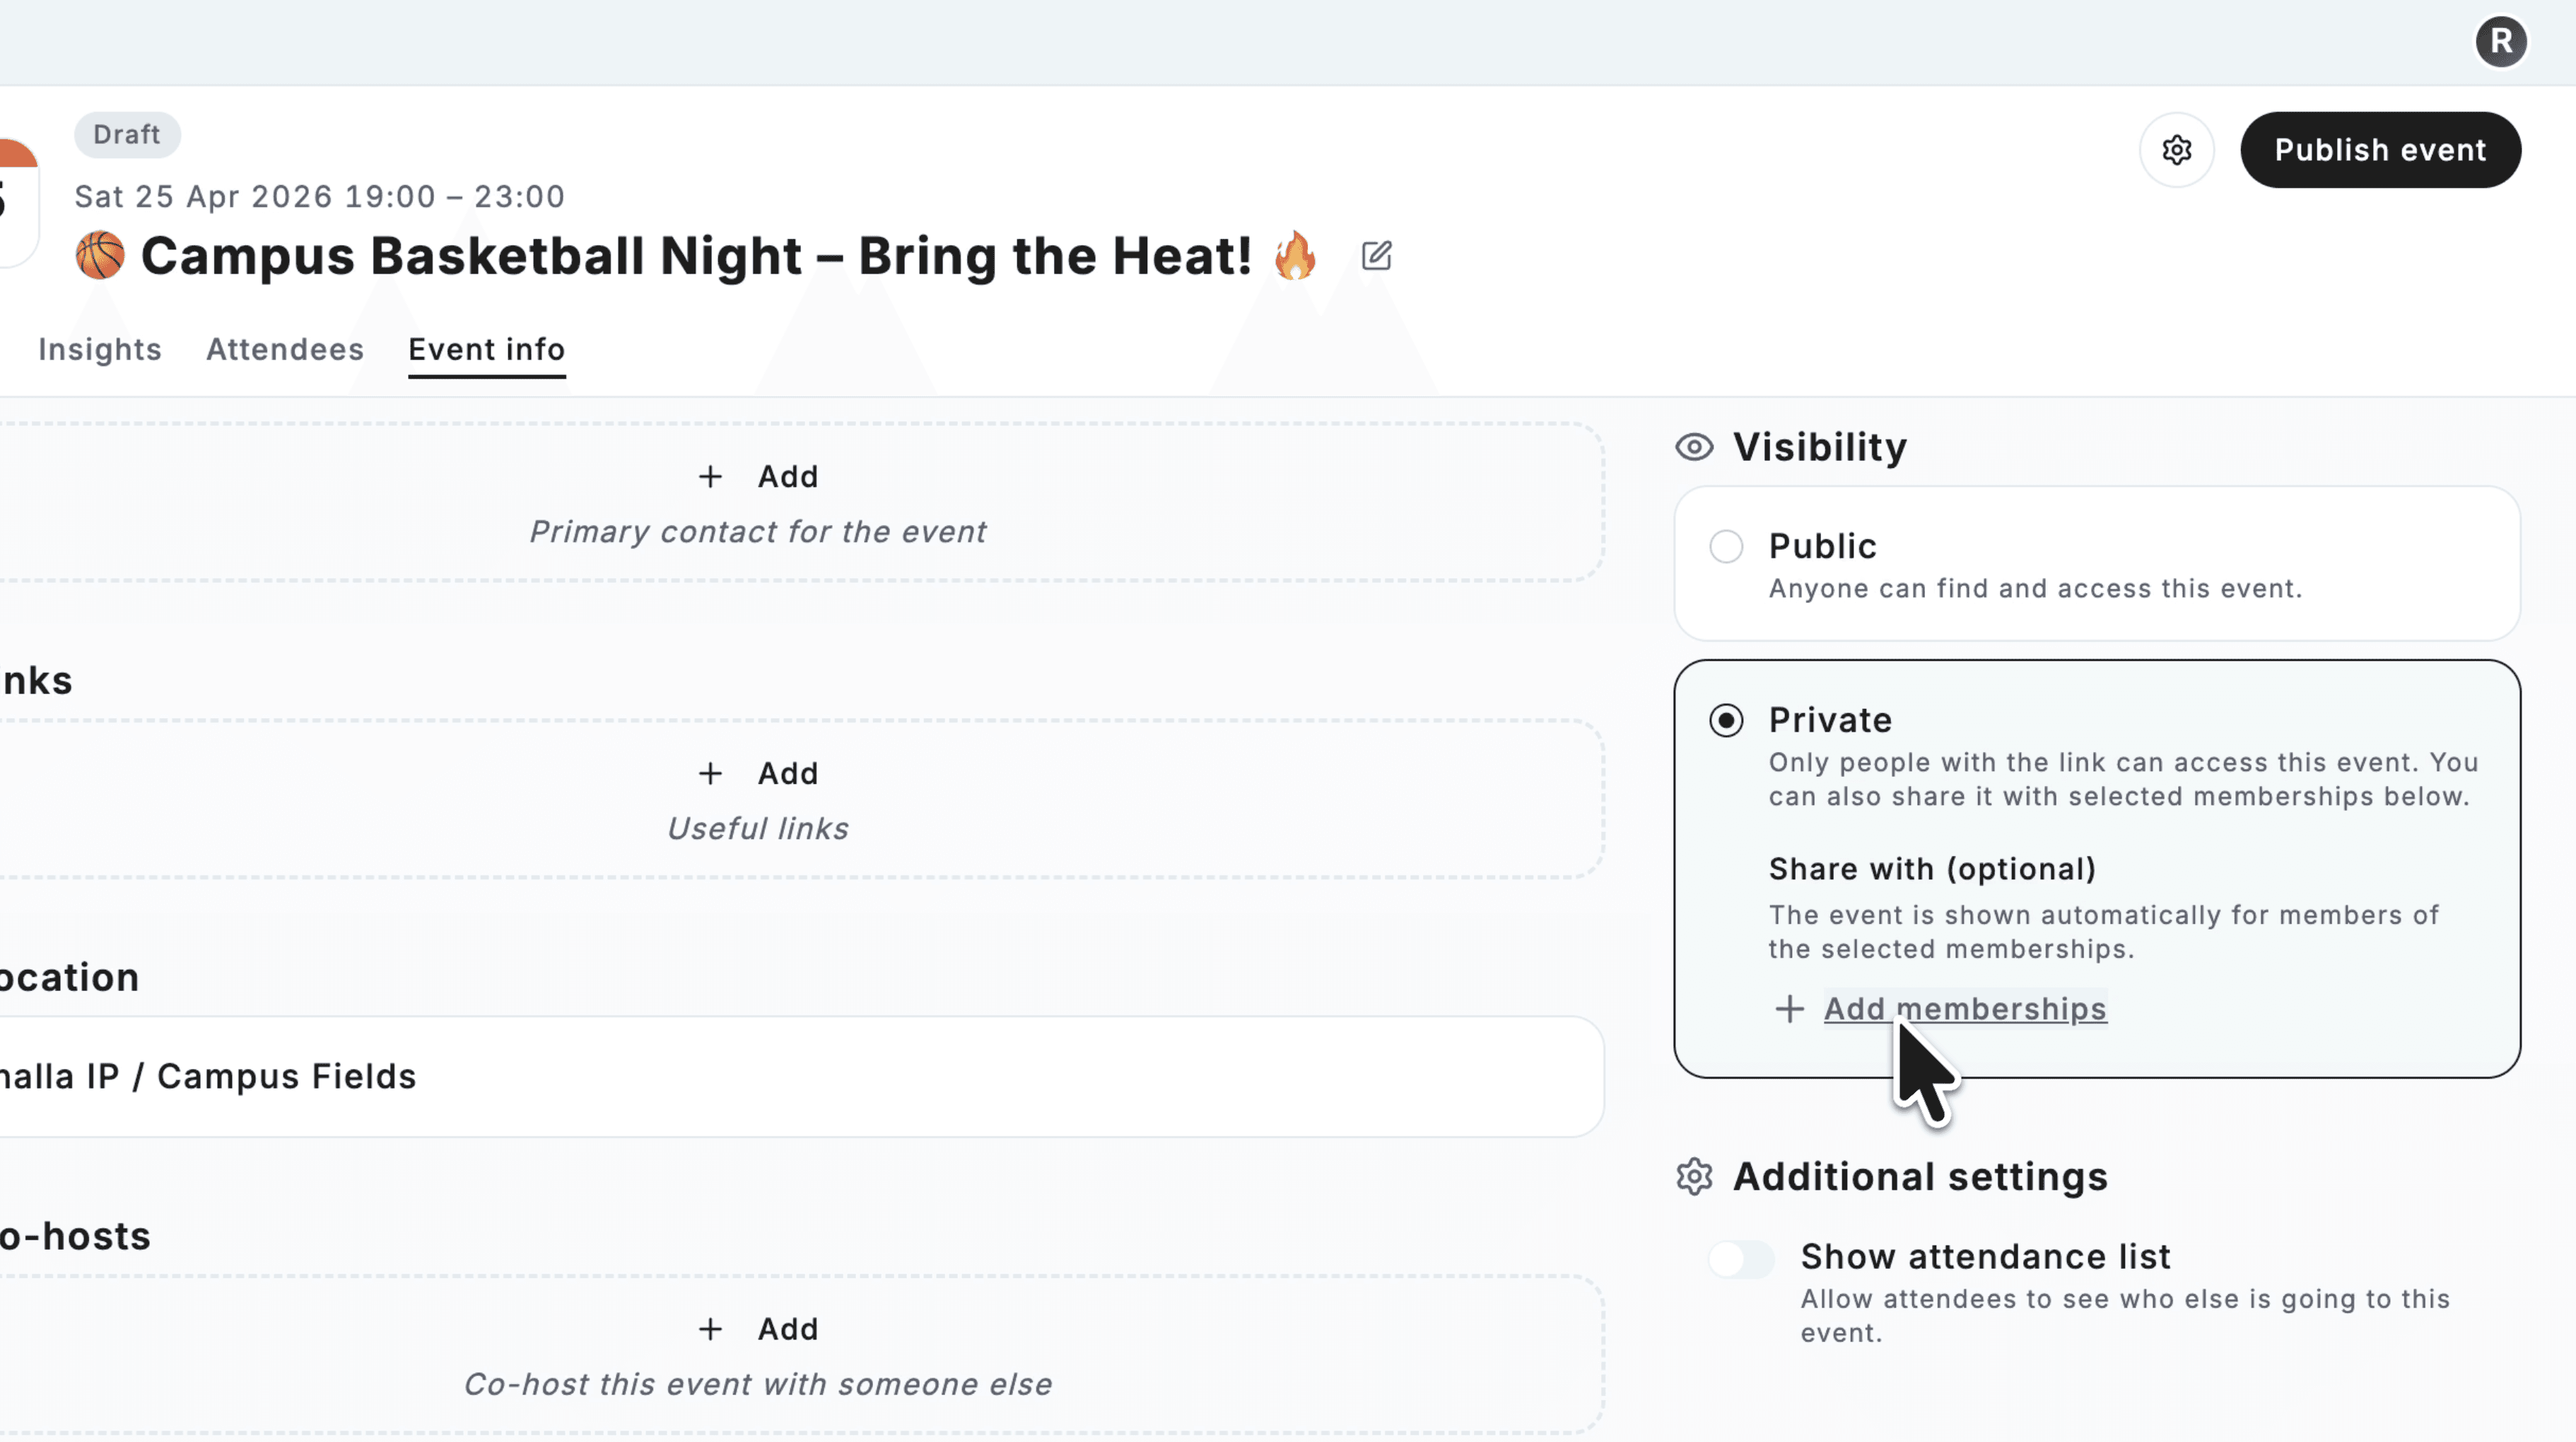
Step 6: Set visibility
Choose who can access your event.
Public
Visible to everyone
Private
Only accessible via link
Membership based
Only visible to selected members
This helps you control who can discover and attend your event.
Step 7: Review and publish your event
Before publishing, review all details:
Event title, date, and time
Description and image
Tickets and pricing
Visibility settings
When ready:
Click Publish event
You can also keep it as a draft if you want to finalize later.
Was this resource helpful?
Up next
Create a membership
Create memberships for your organization, collect member information, and manage access, payments, and member data.
Read more ->